If you’re like me you have an extra pair of jeans lying around that don’t fit, are out of style, or are just plain uncomfortable. Ok, so in my case it was a whole stack, don’t judge me! So I decided to find a fun way to use some of the jeans for a new purpose. This project just uses the hems, so I’m saving the rest of the denim for future projects.
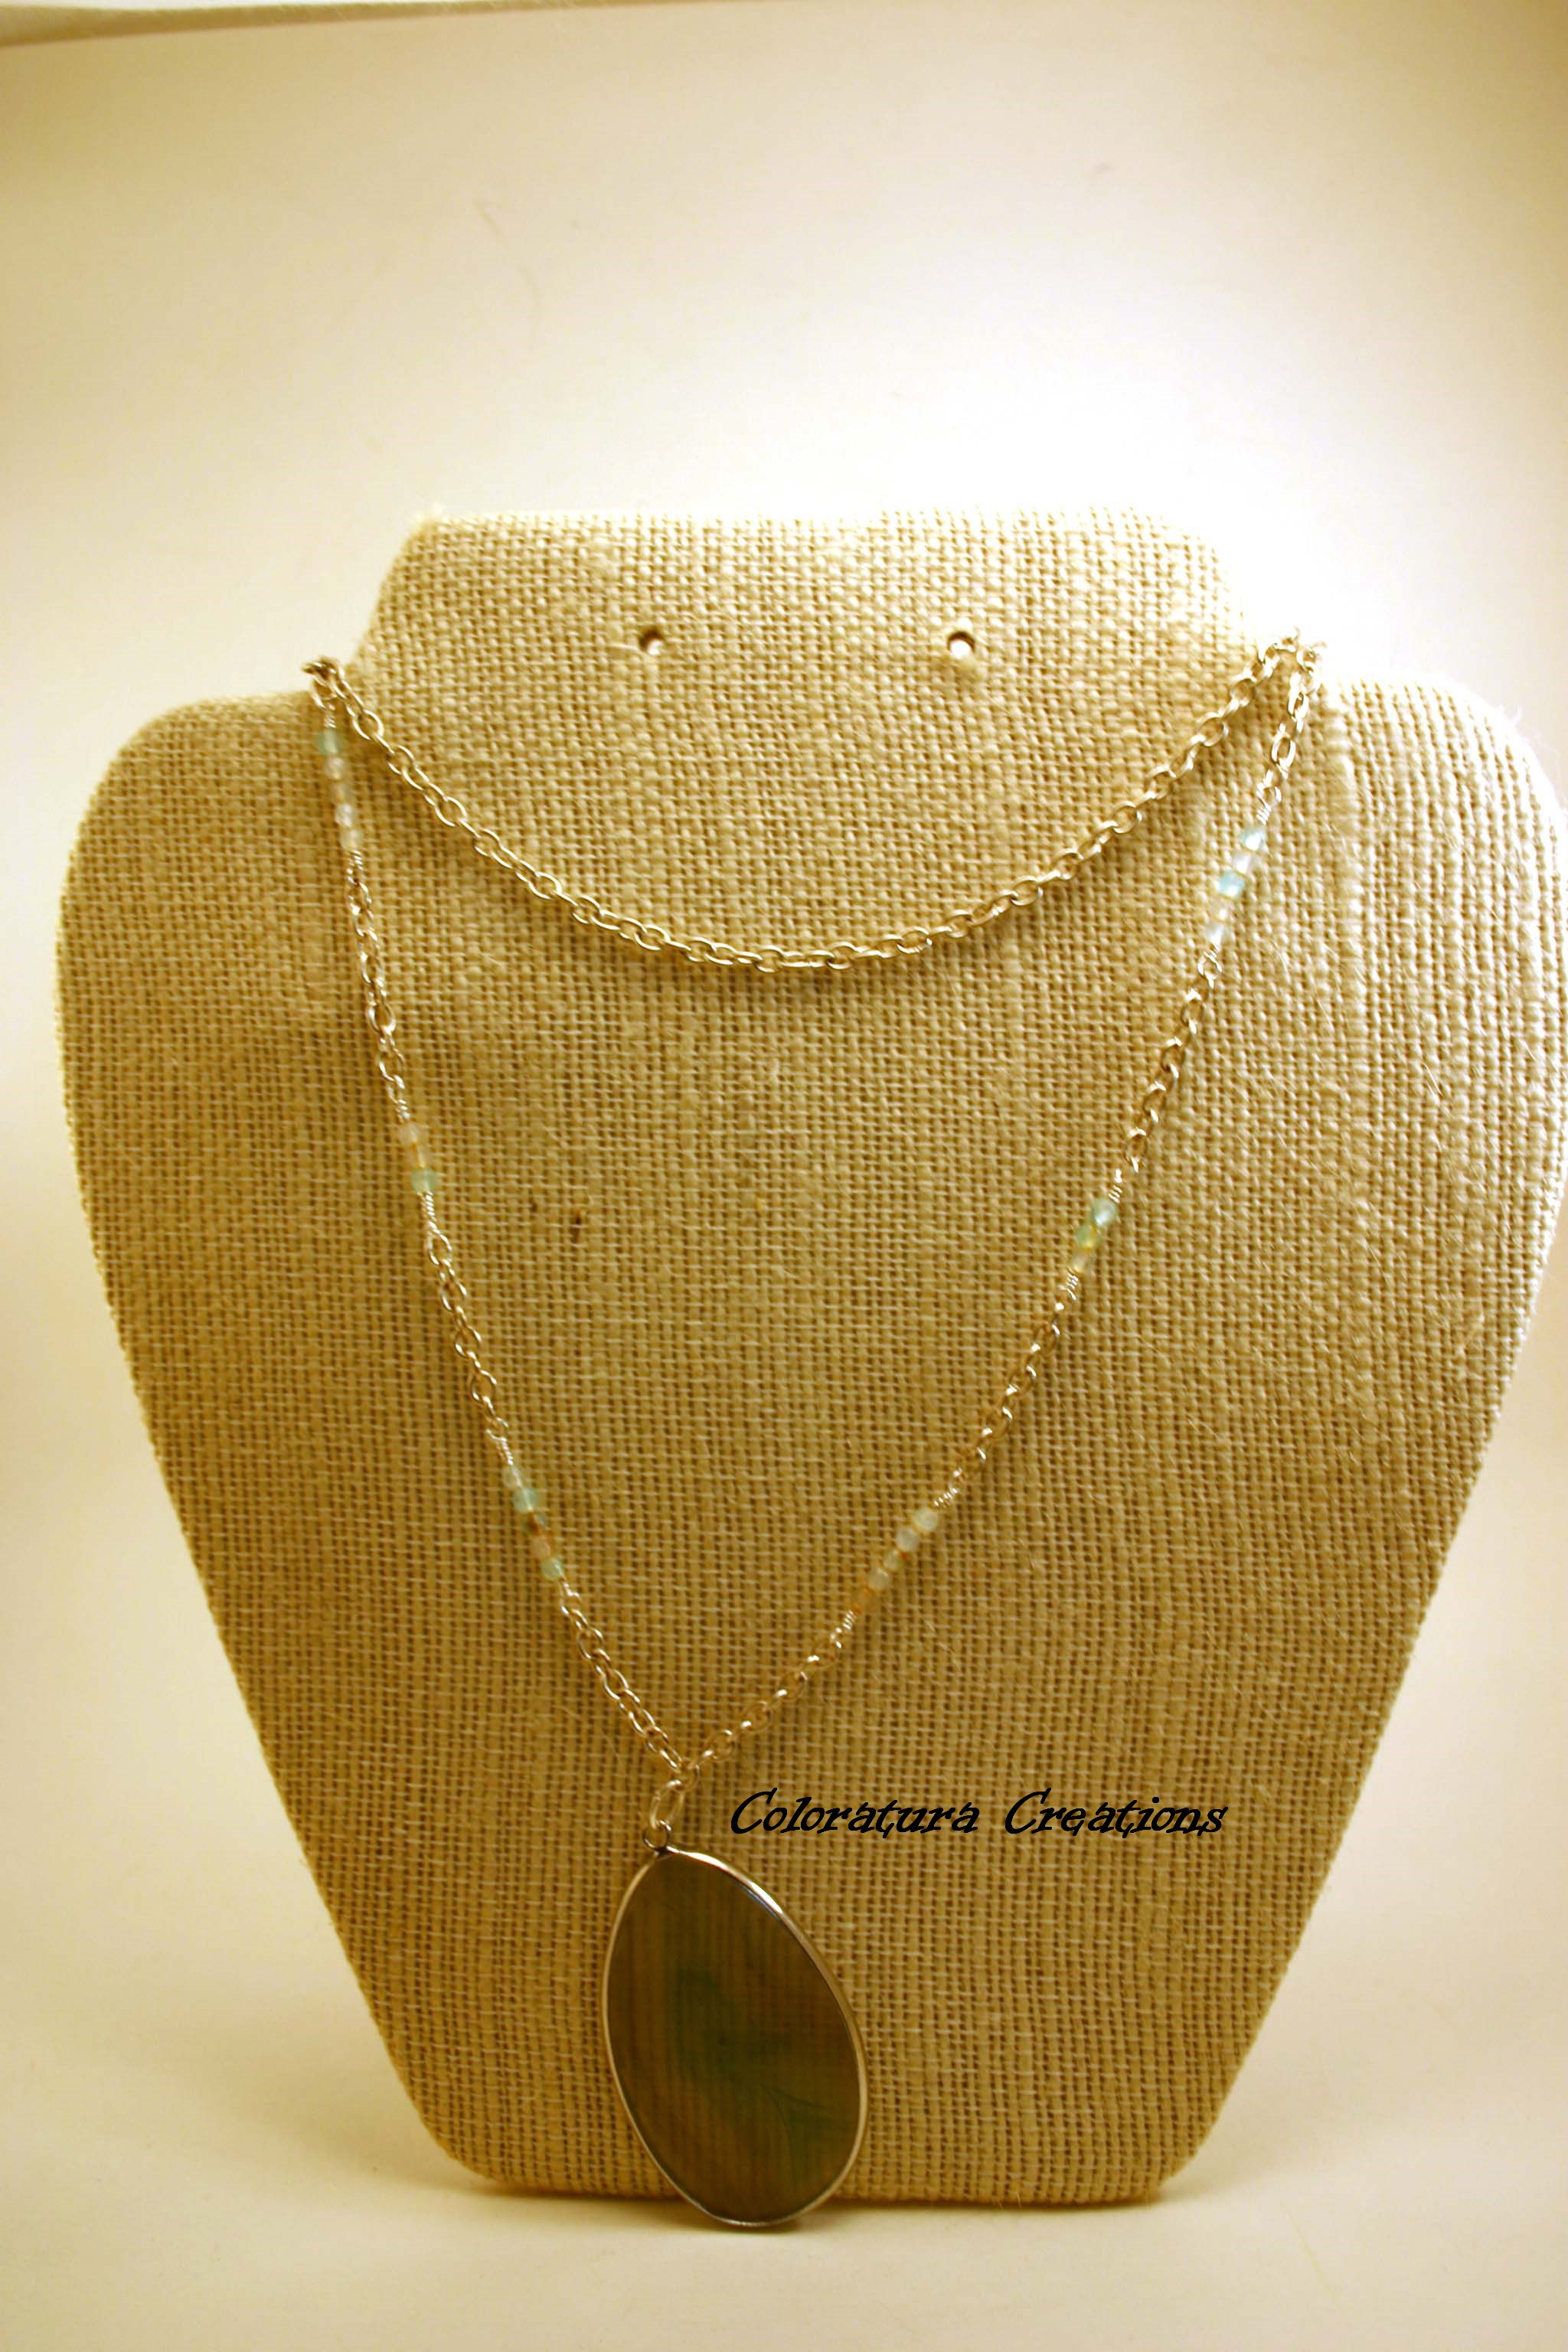
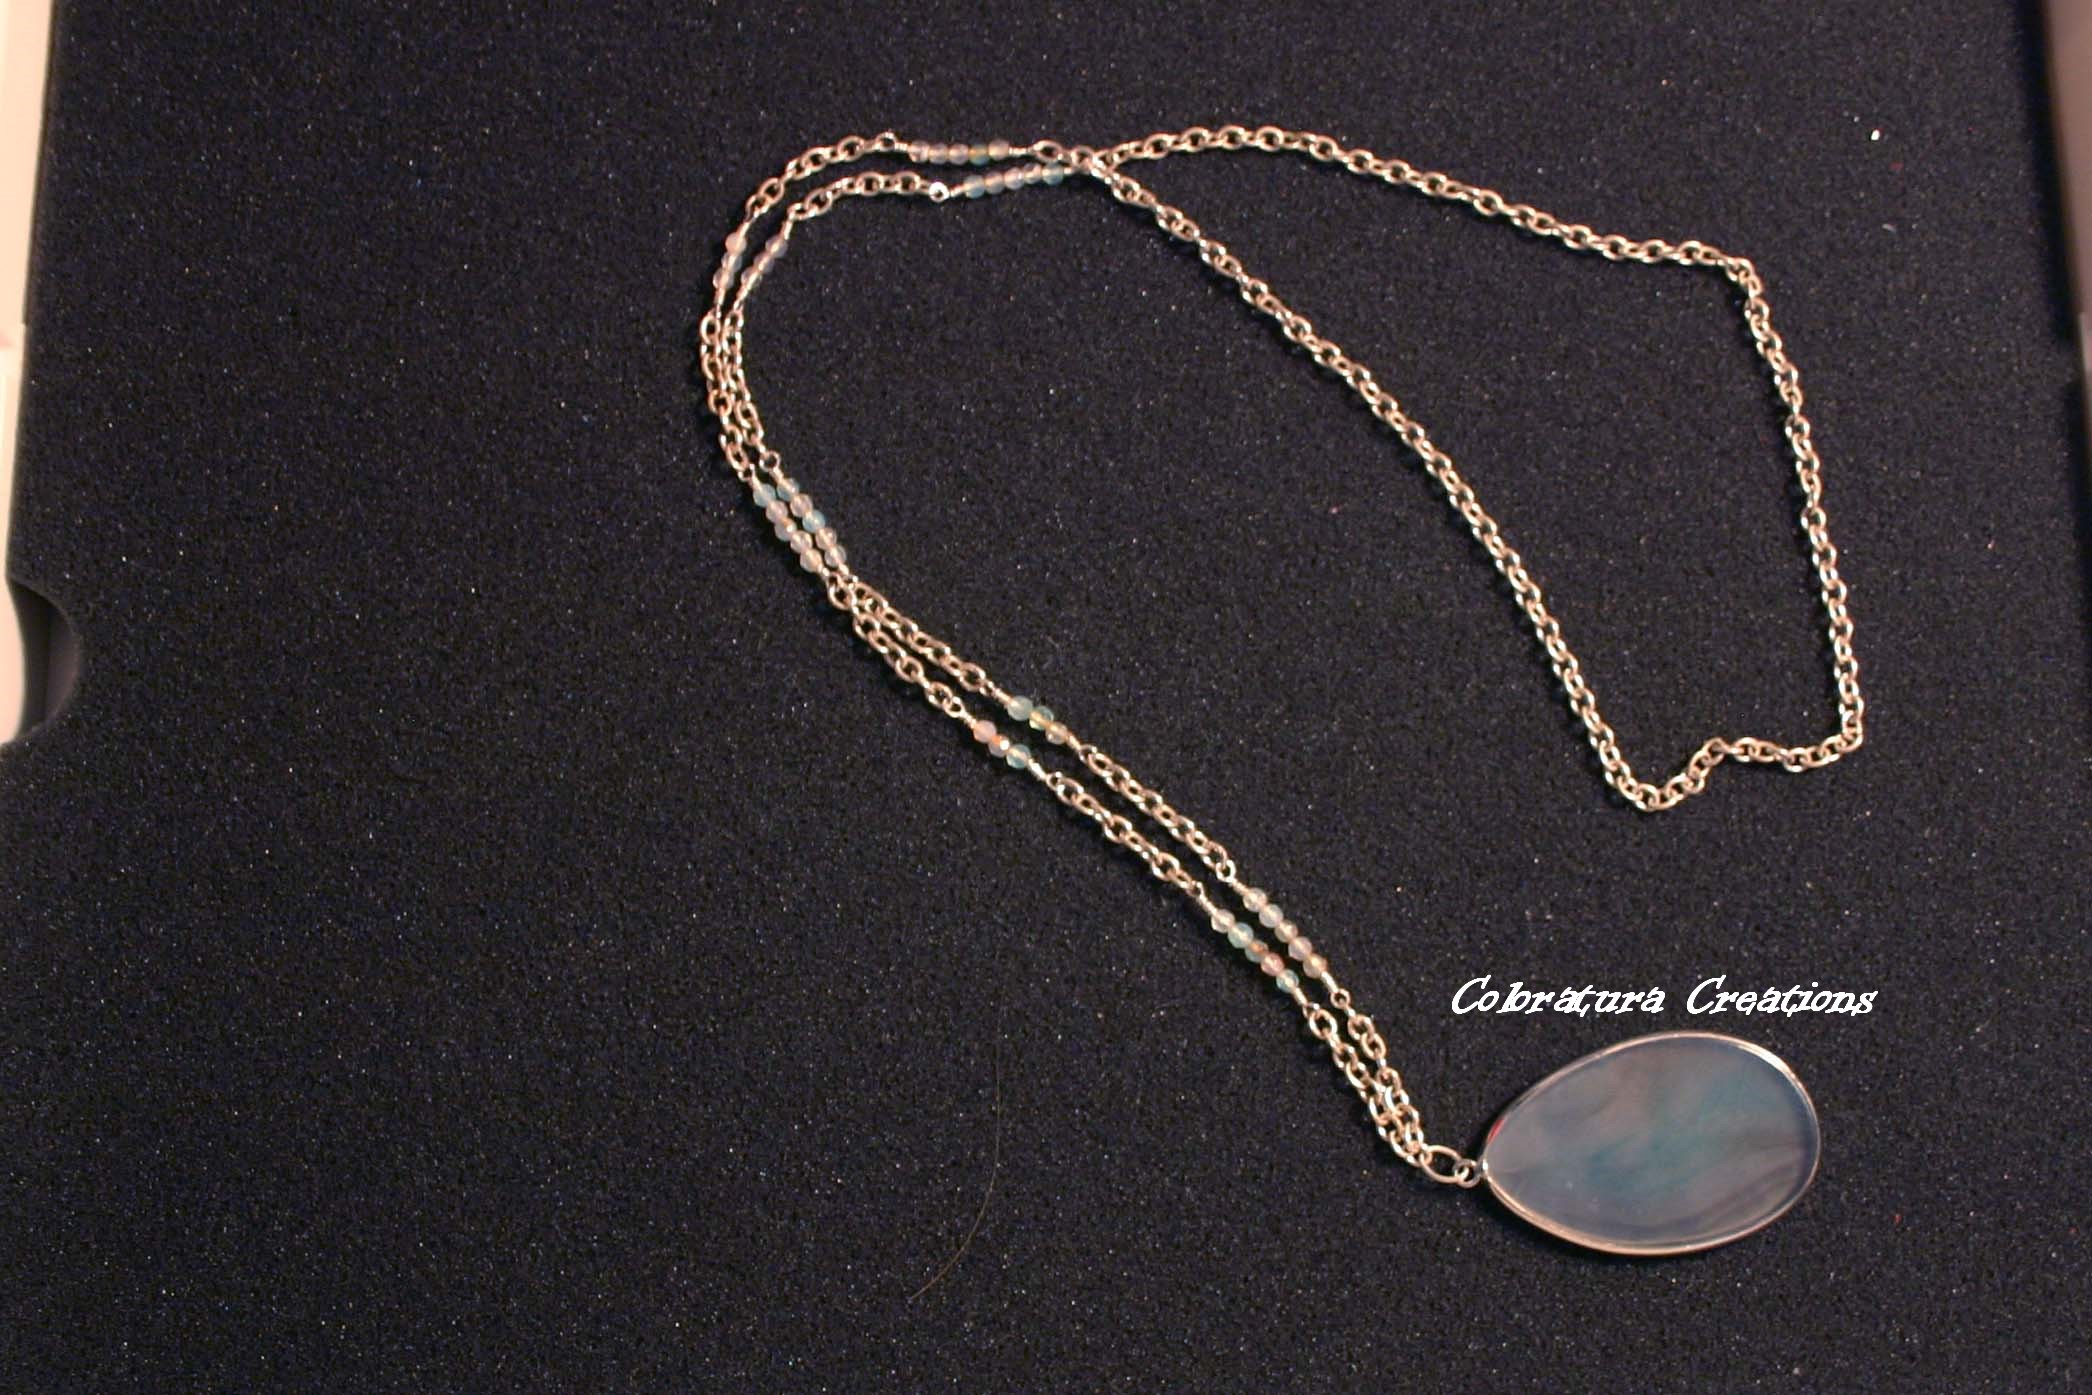
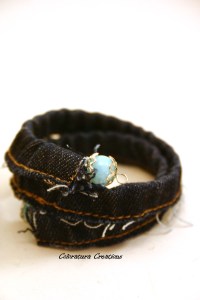
Here’s what we’re making:

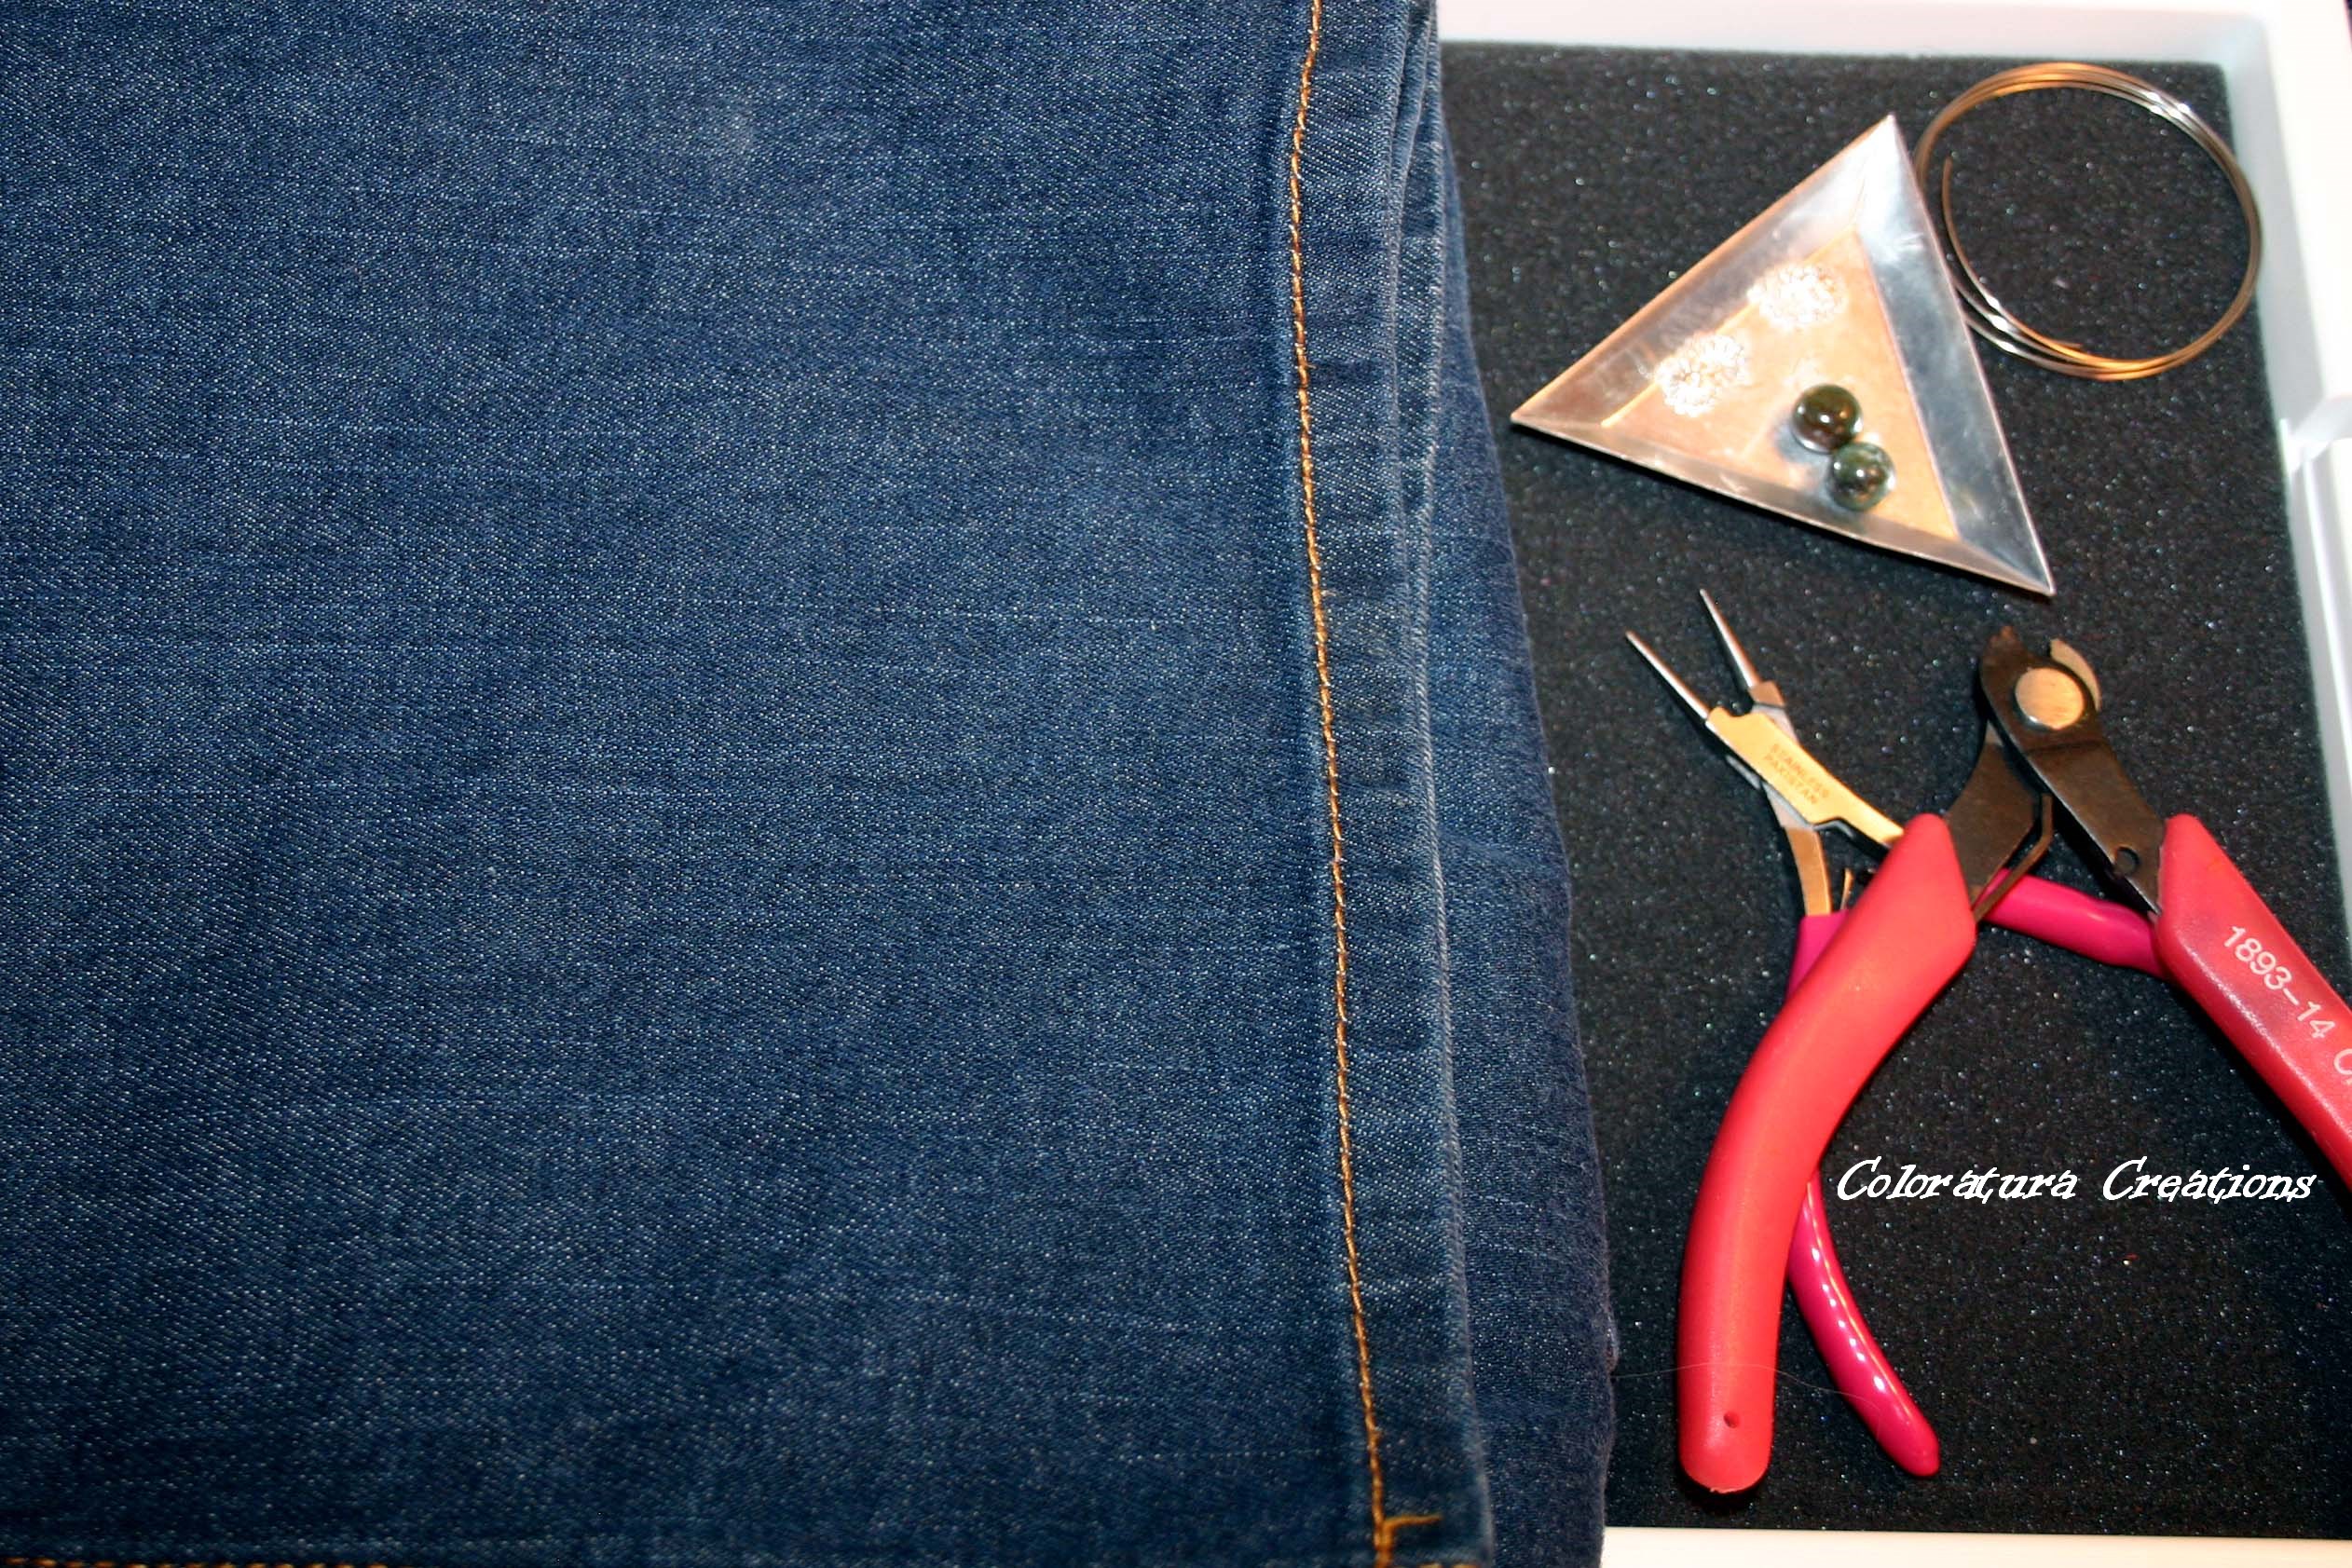
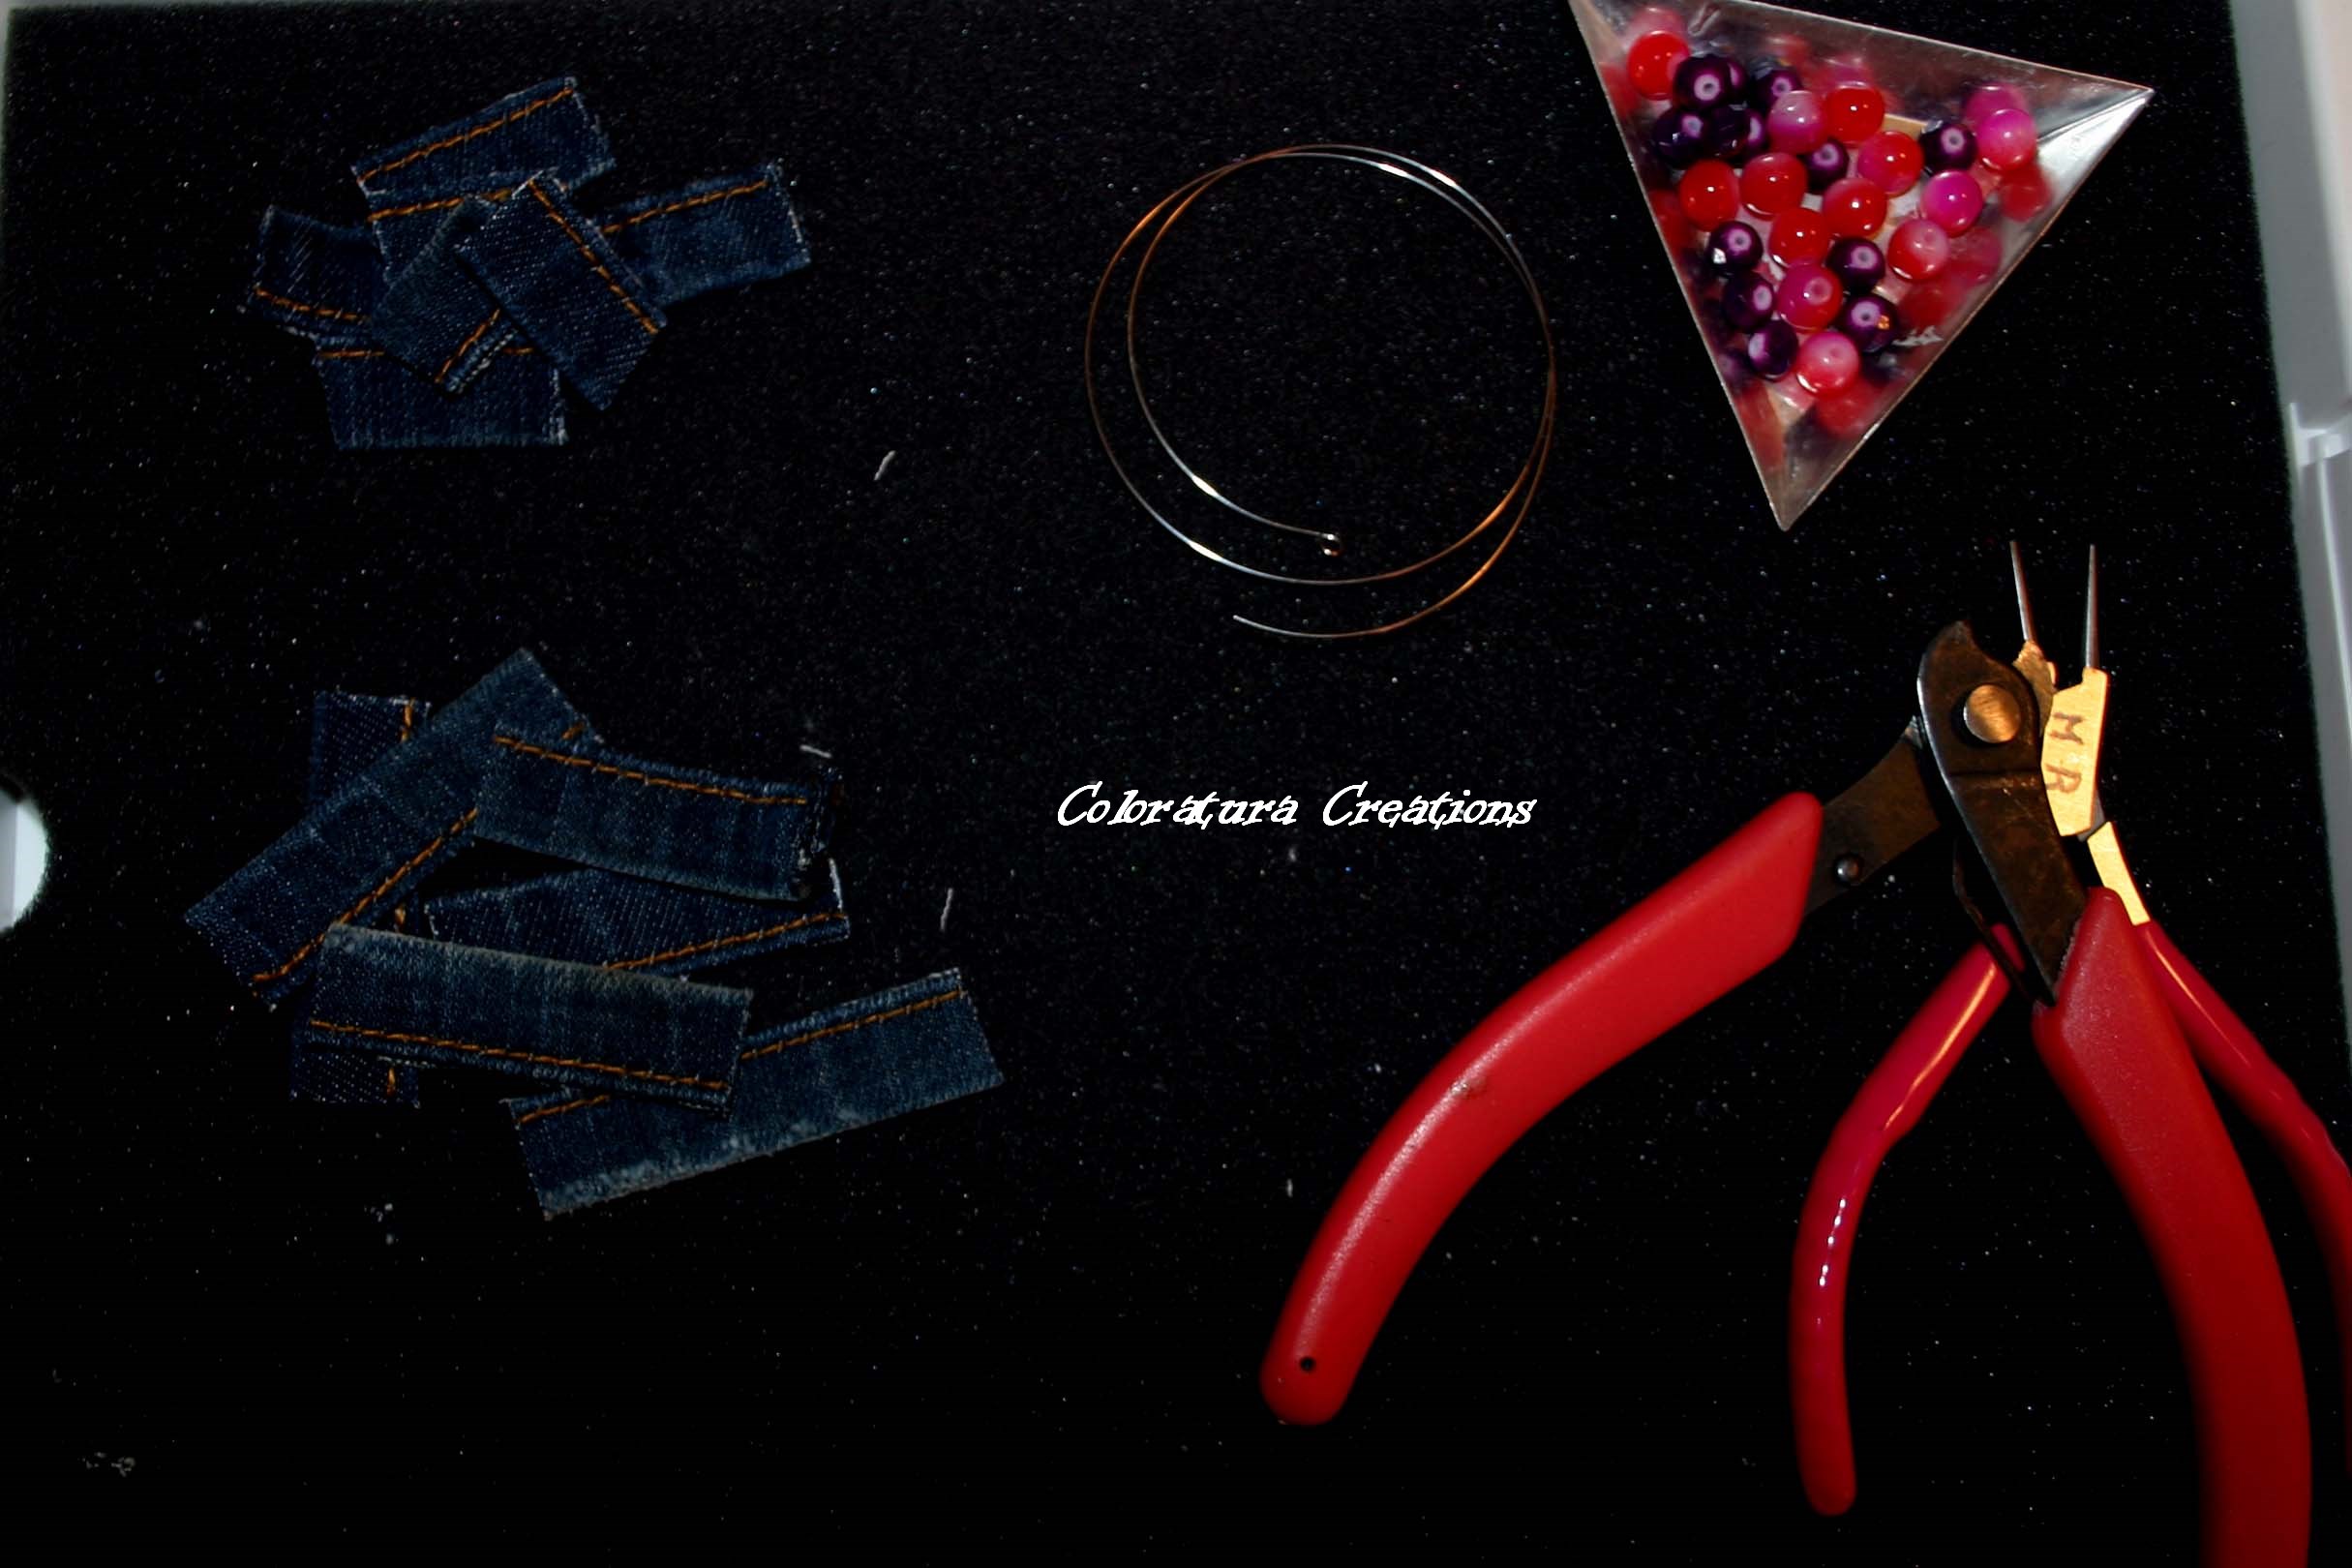
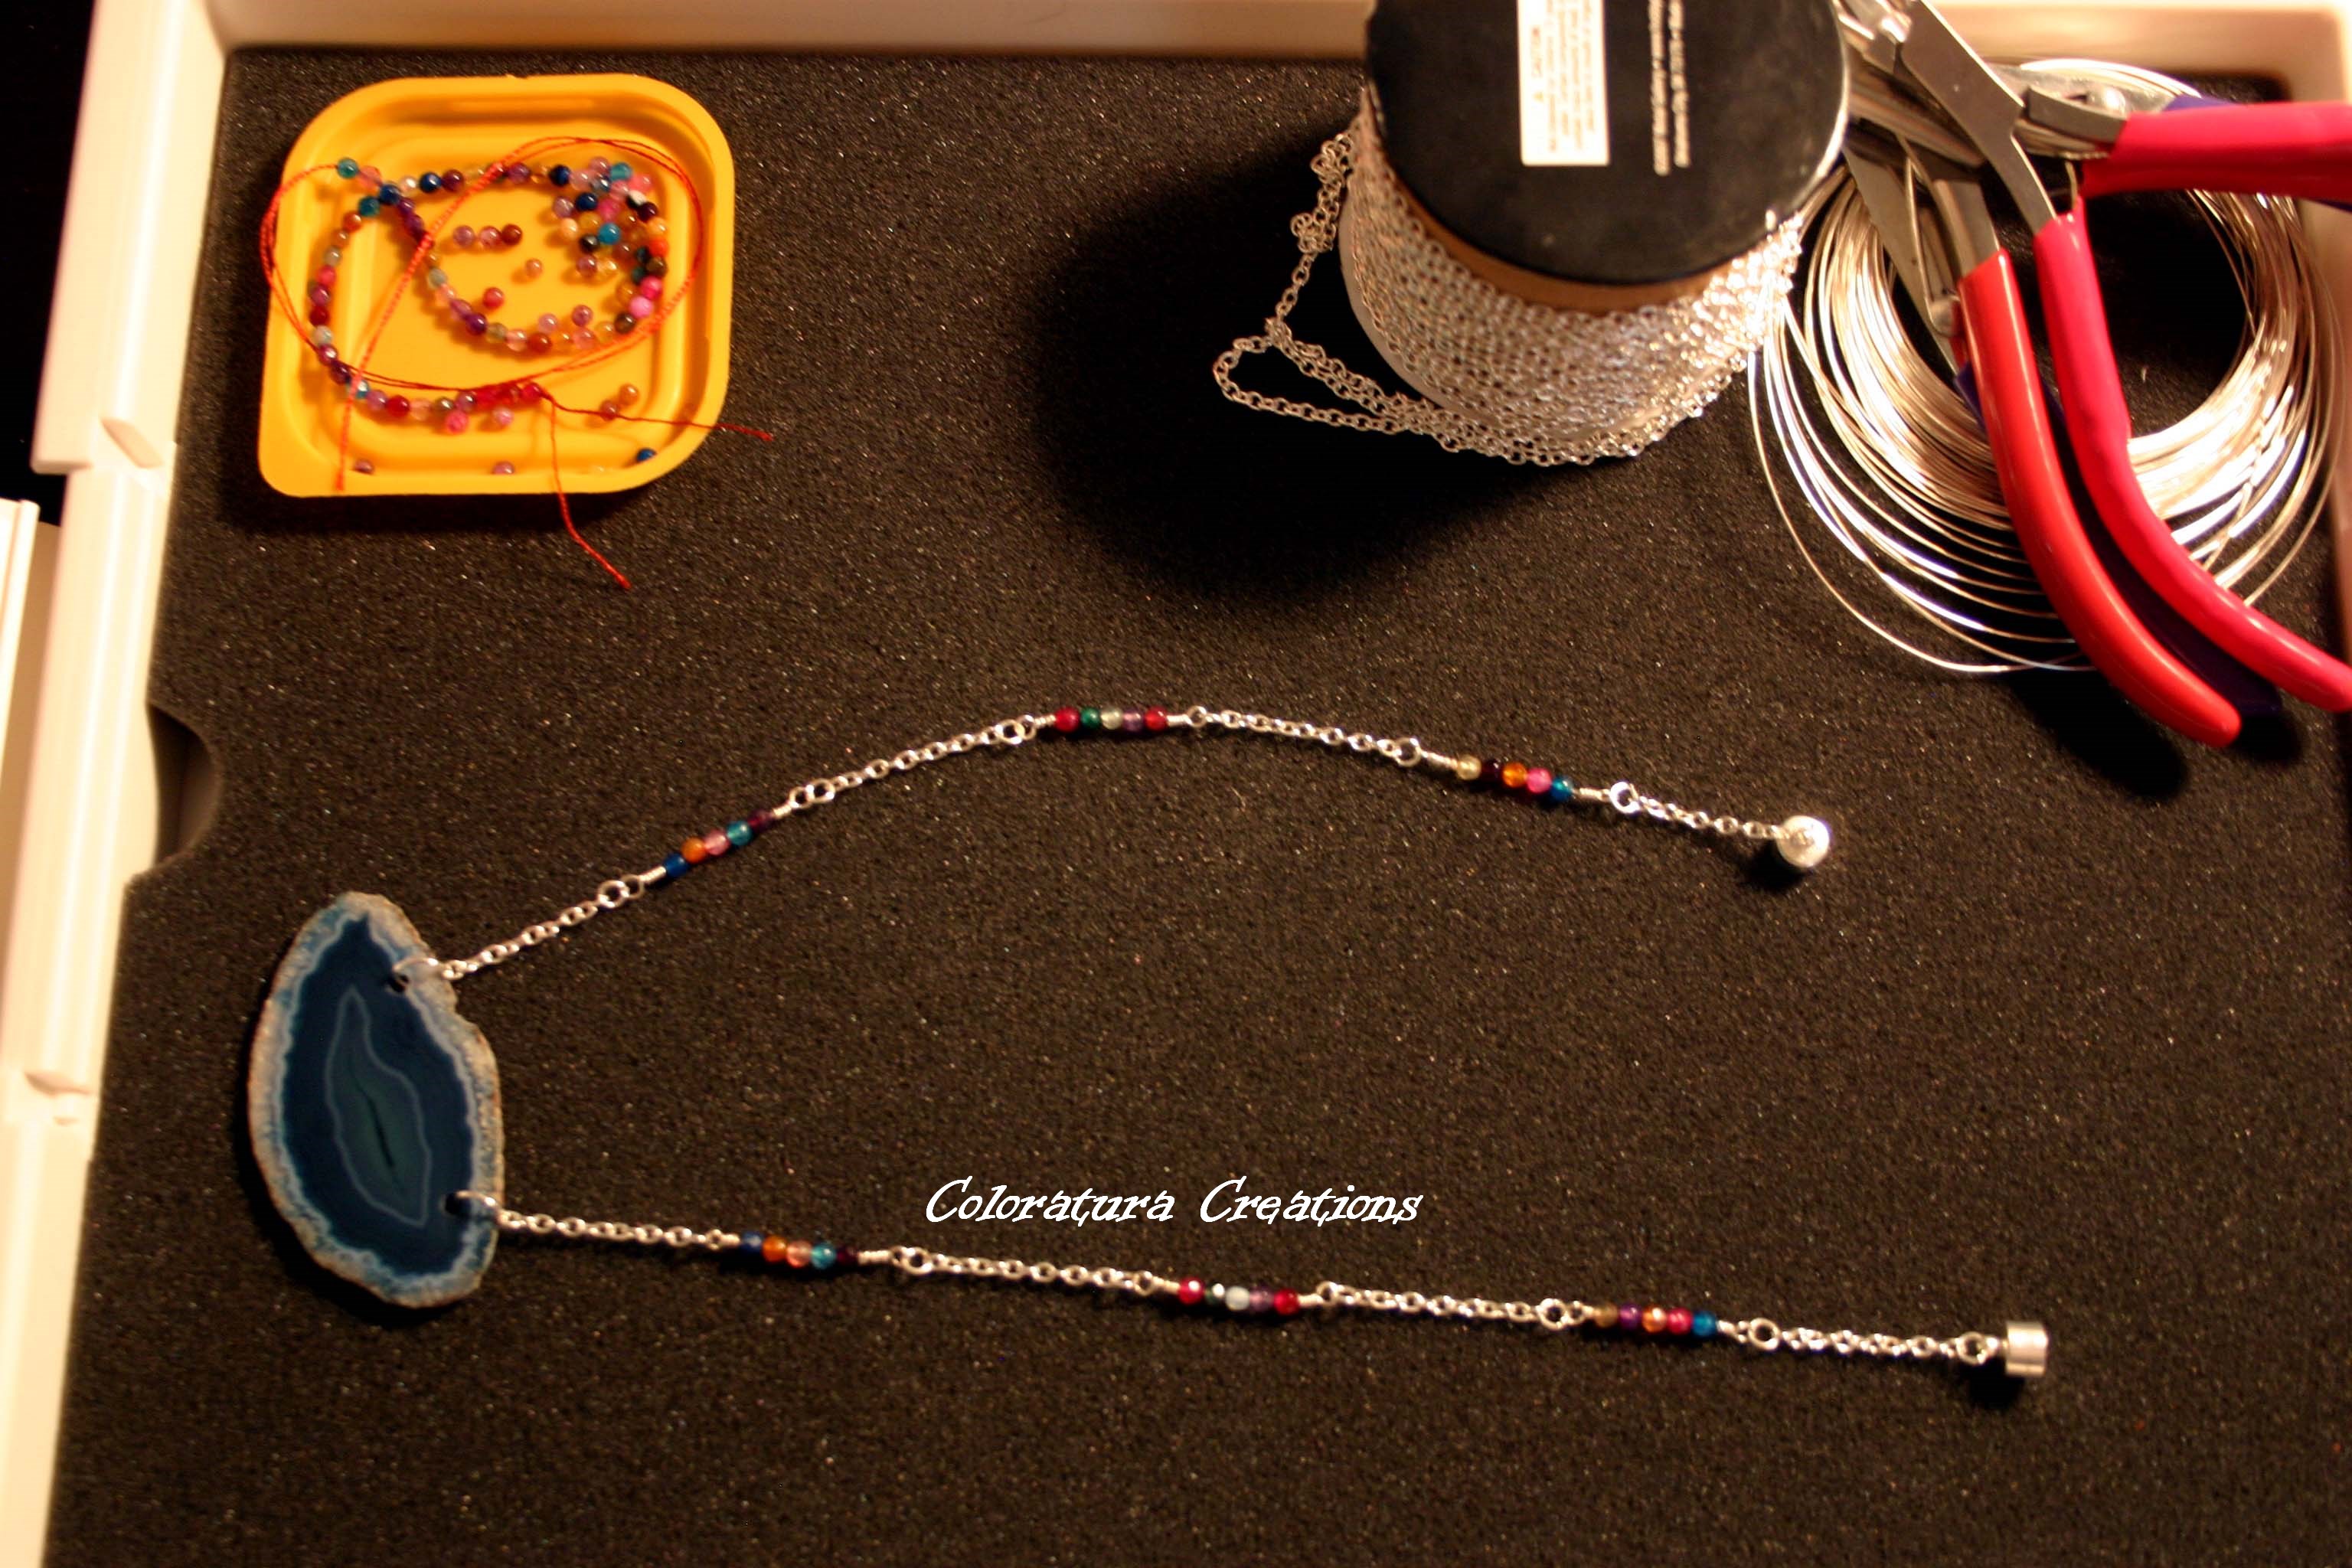
The great thing about this project is that it doesn’t require any special tools or a lot of jewelry making supplies. Even if you don’t have the pliers shown, you can use regular household pliers from your tool box (just be very careful cutting the memory wire!).
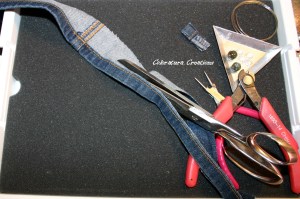
Here’s what you’ll need: An old pair of jeans with hems in tact (if you have a pair with damaged hems like I do, short girl problems, I’ll show you a project with those next), Memory Wire, Large Round Beads, Round Nose Pliers, Memory Wire Cutters, and Fabric Scissors. That’s it!

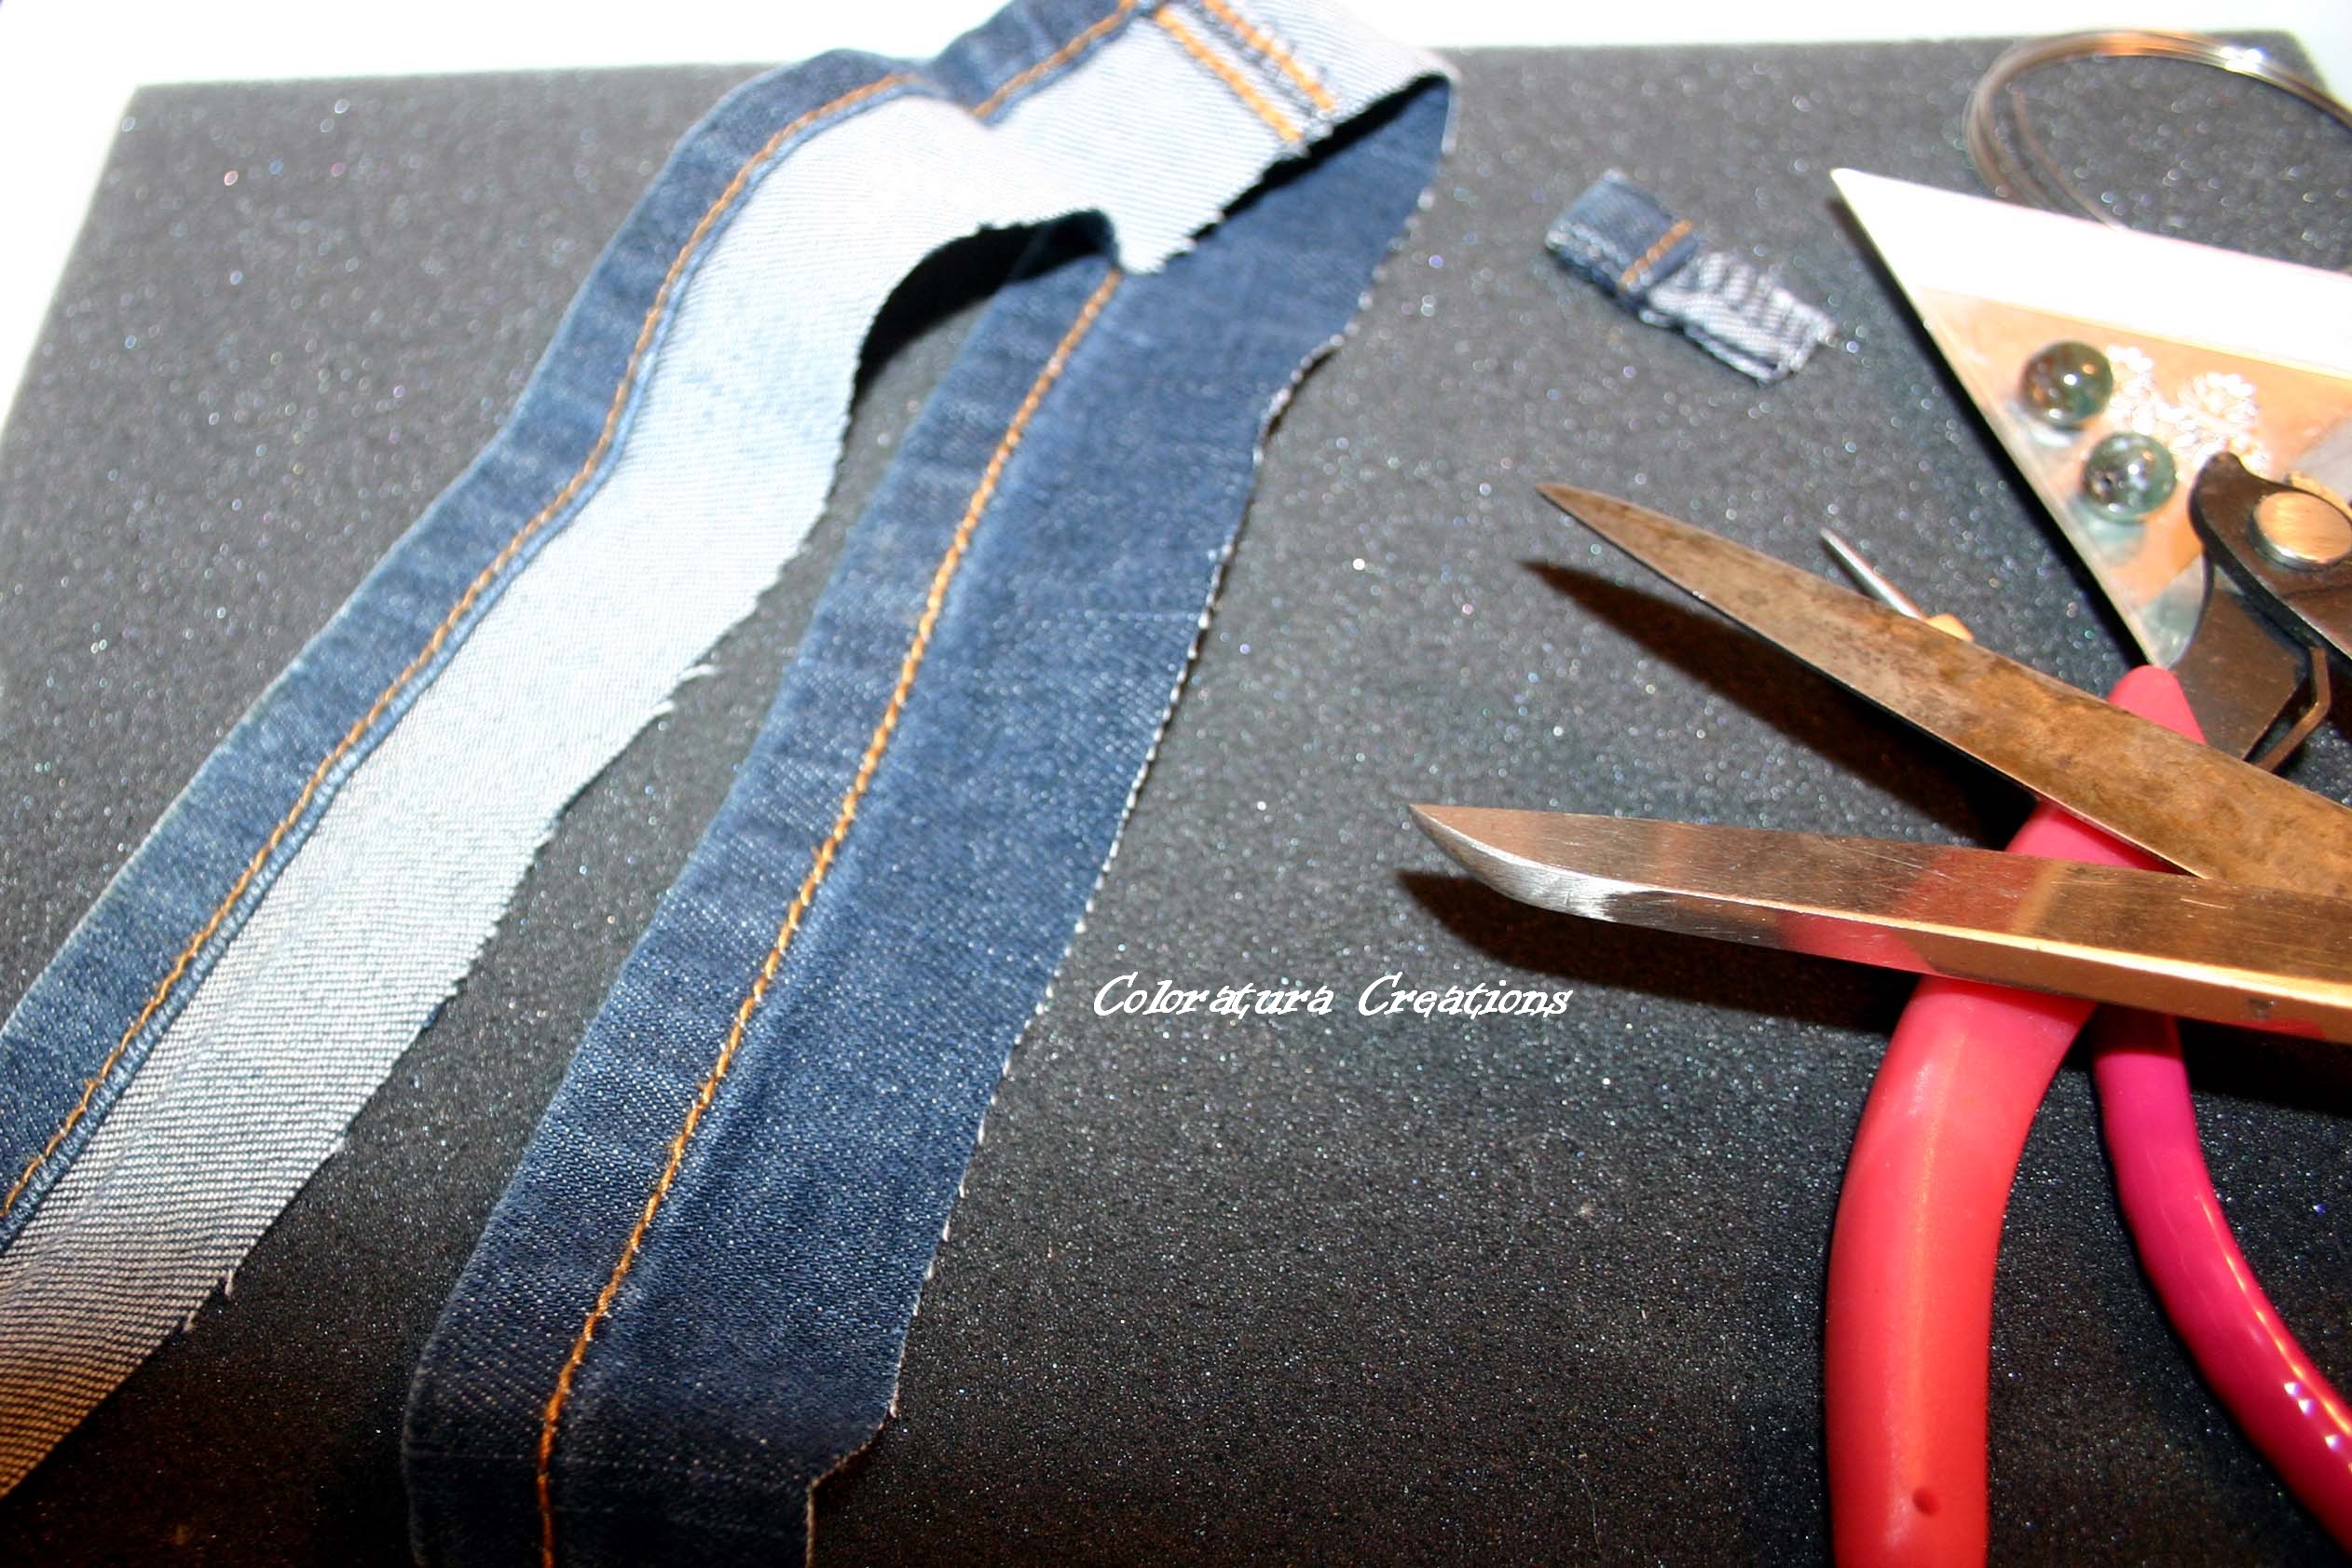
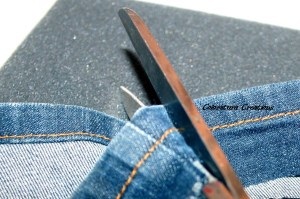
The first step is to cut the hems off your jeans. Cut slightly above the hems, we’ll clean it up later.

Snip off the inside seam on both sides (not the double stitched outer seam).
Flip the strip over and cut along the edge of the hem.

You’re essentially creating a long denim tube to feed onto your wire.
If you’re working with a large piece of memory wire, cut it down to the size you need. I cut 2 spirals to make a 2 wrap bracelet.
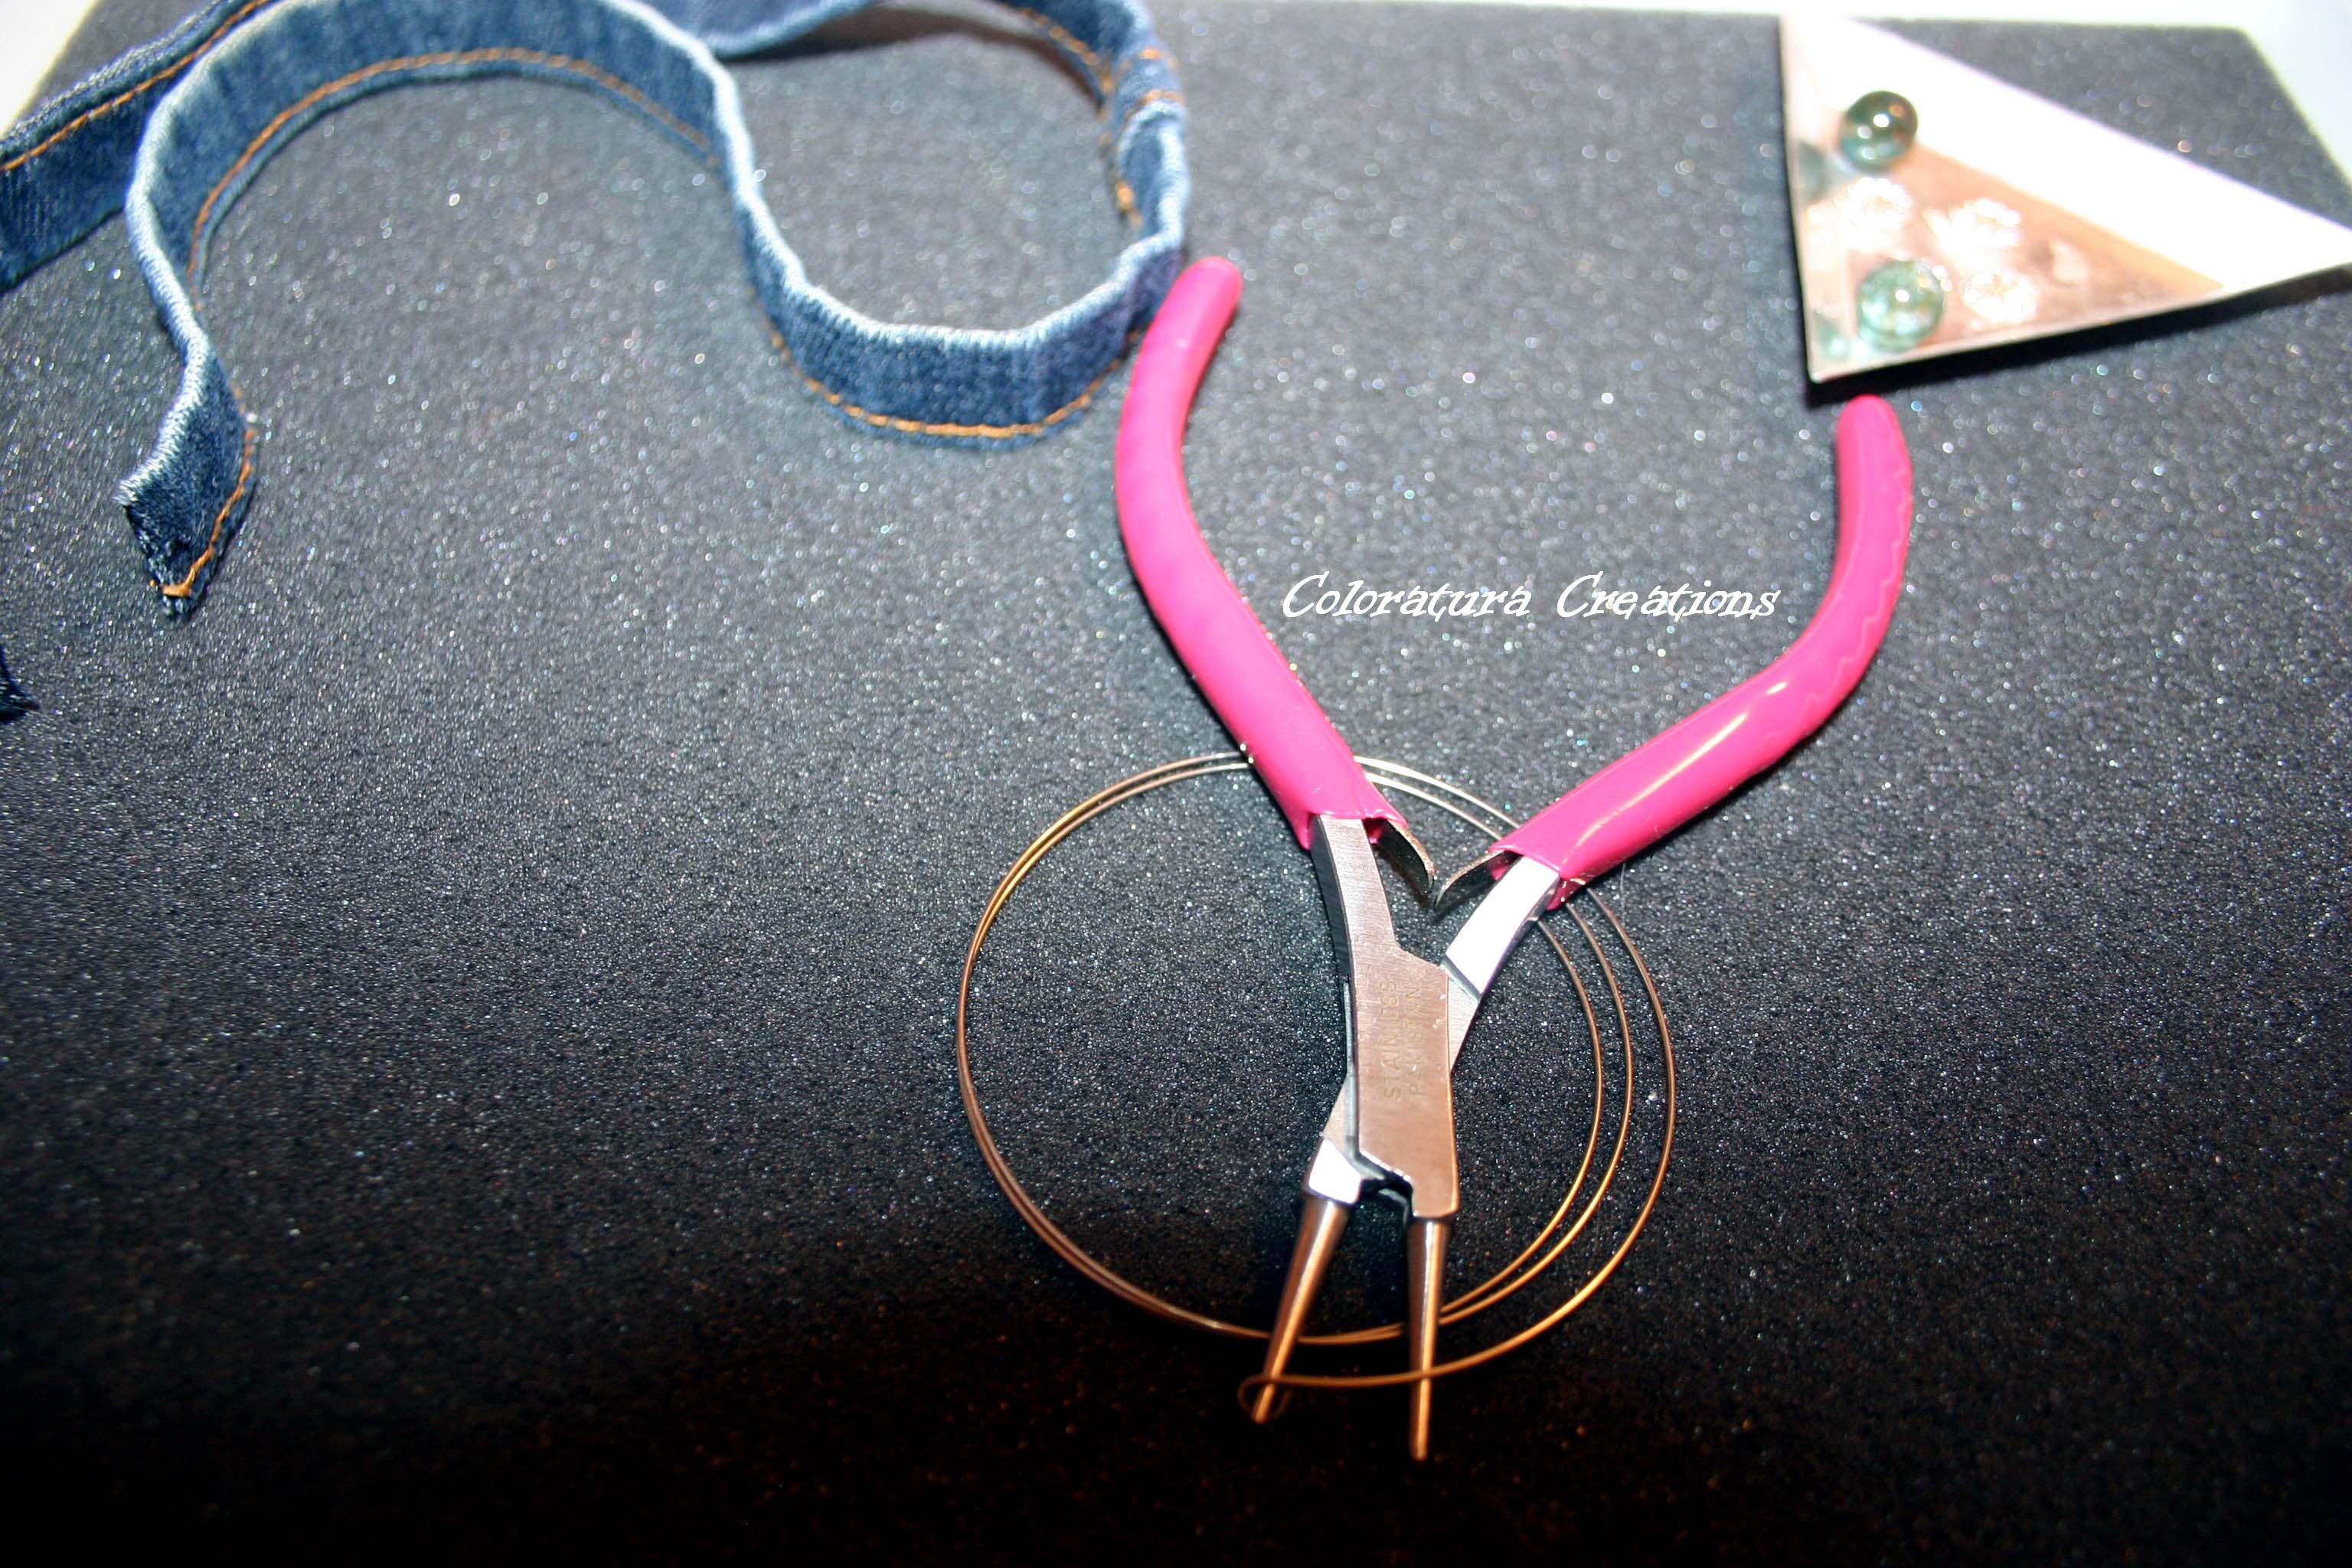
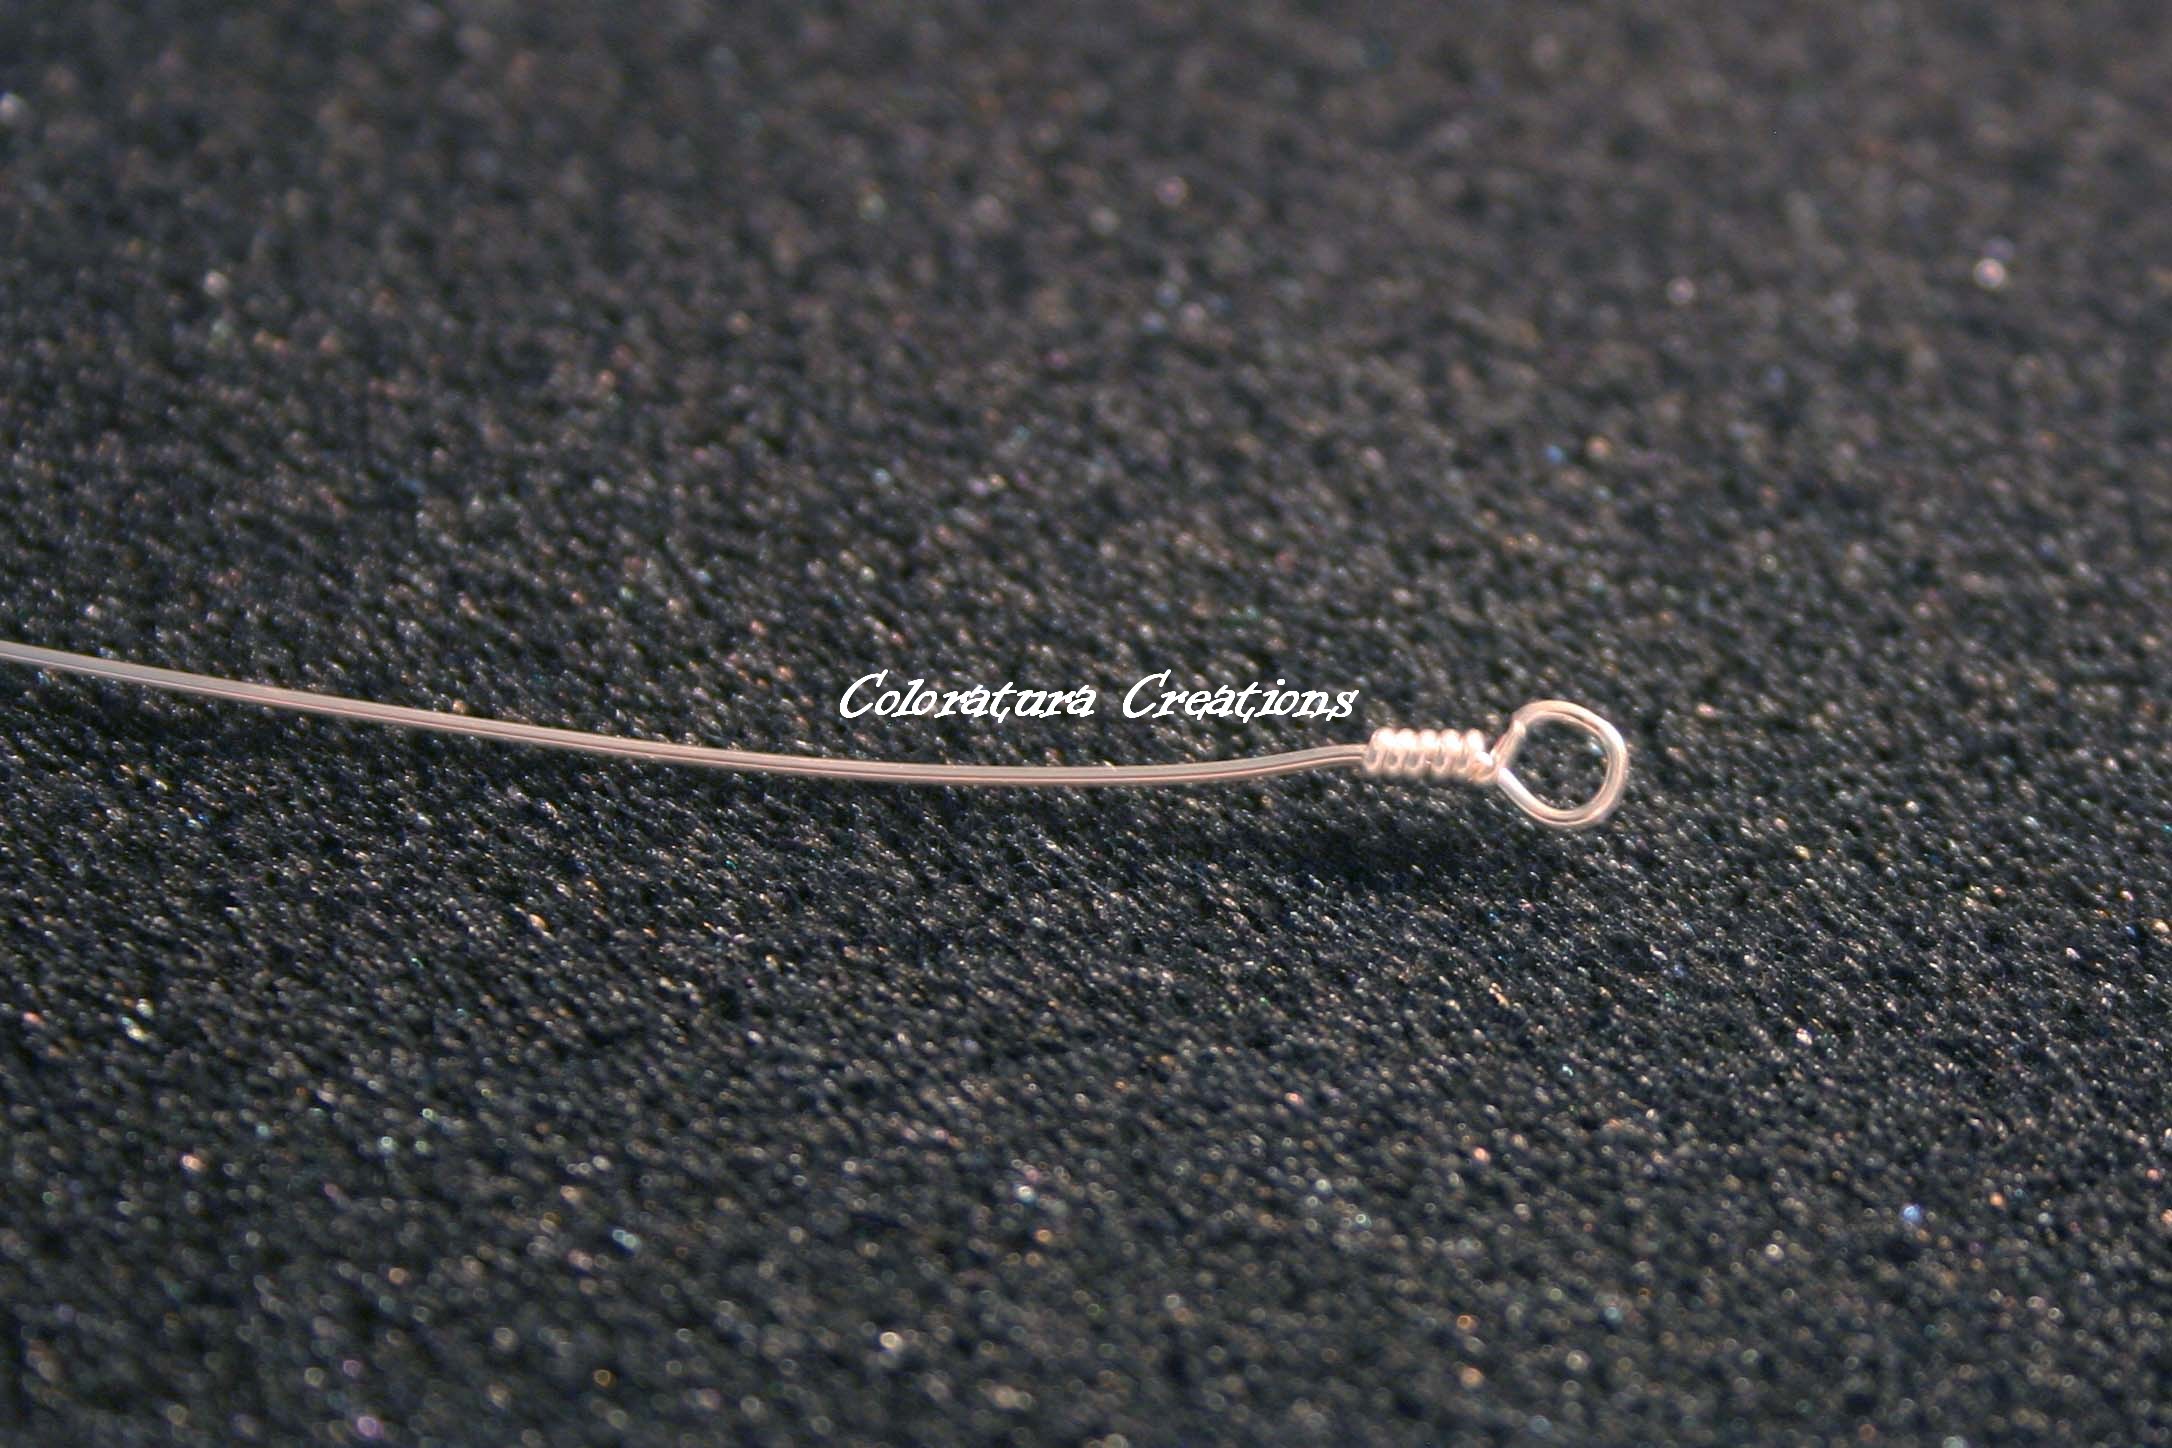
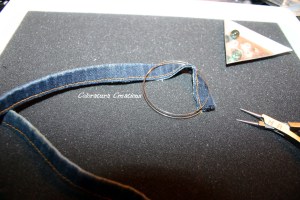
Make a loop in one end of the memory wire. You’ll cut this off later, but it’s much easier to feed a smooth edge through the denim (trust me, I tried!). To loop memory wire, use round nose pliers to curve the wire in the opposite direction of the spirals.

Start threading your denim tube onto the memory wire, this might take a little bit of finagling (especially through the seam), but you’ll get it.
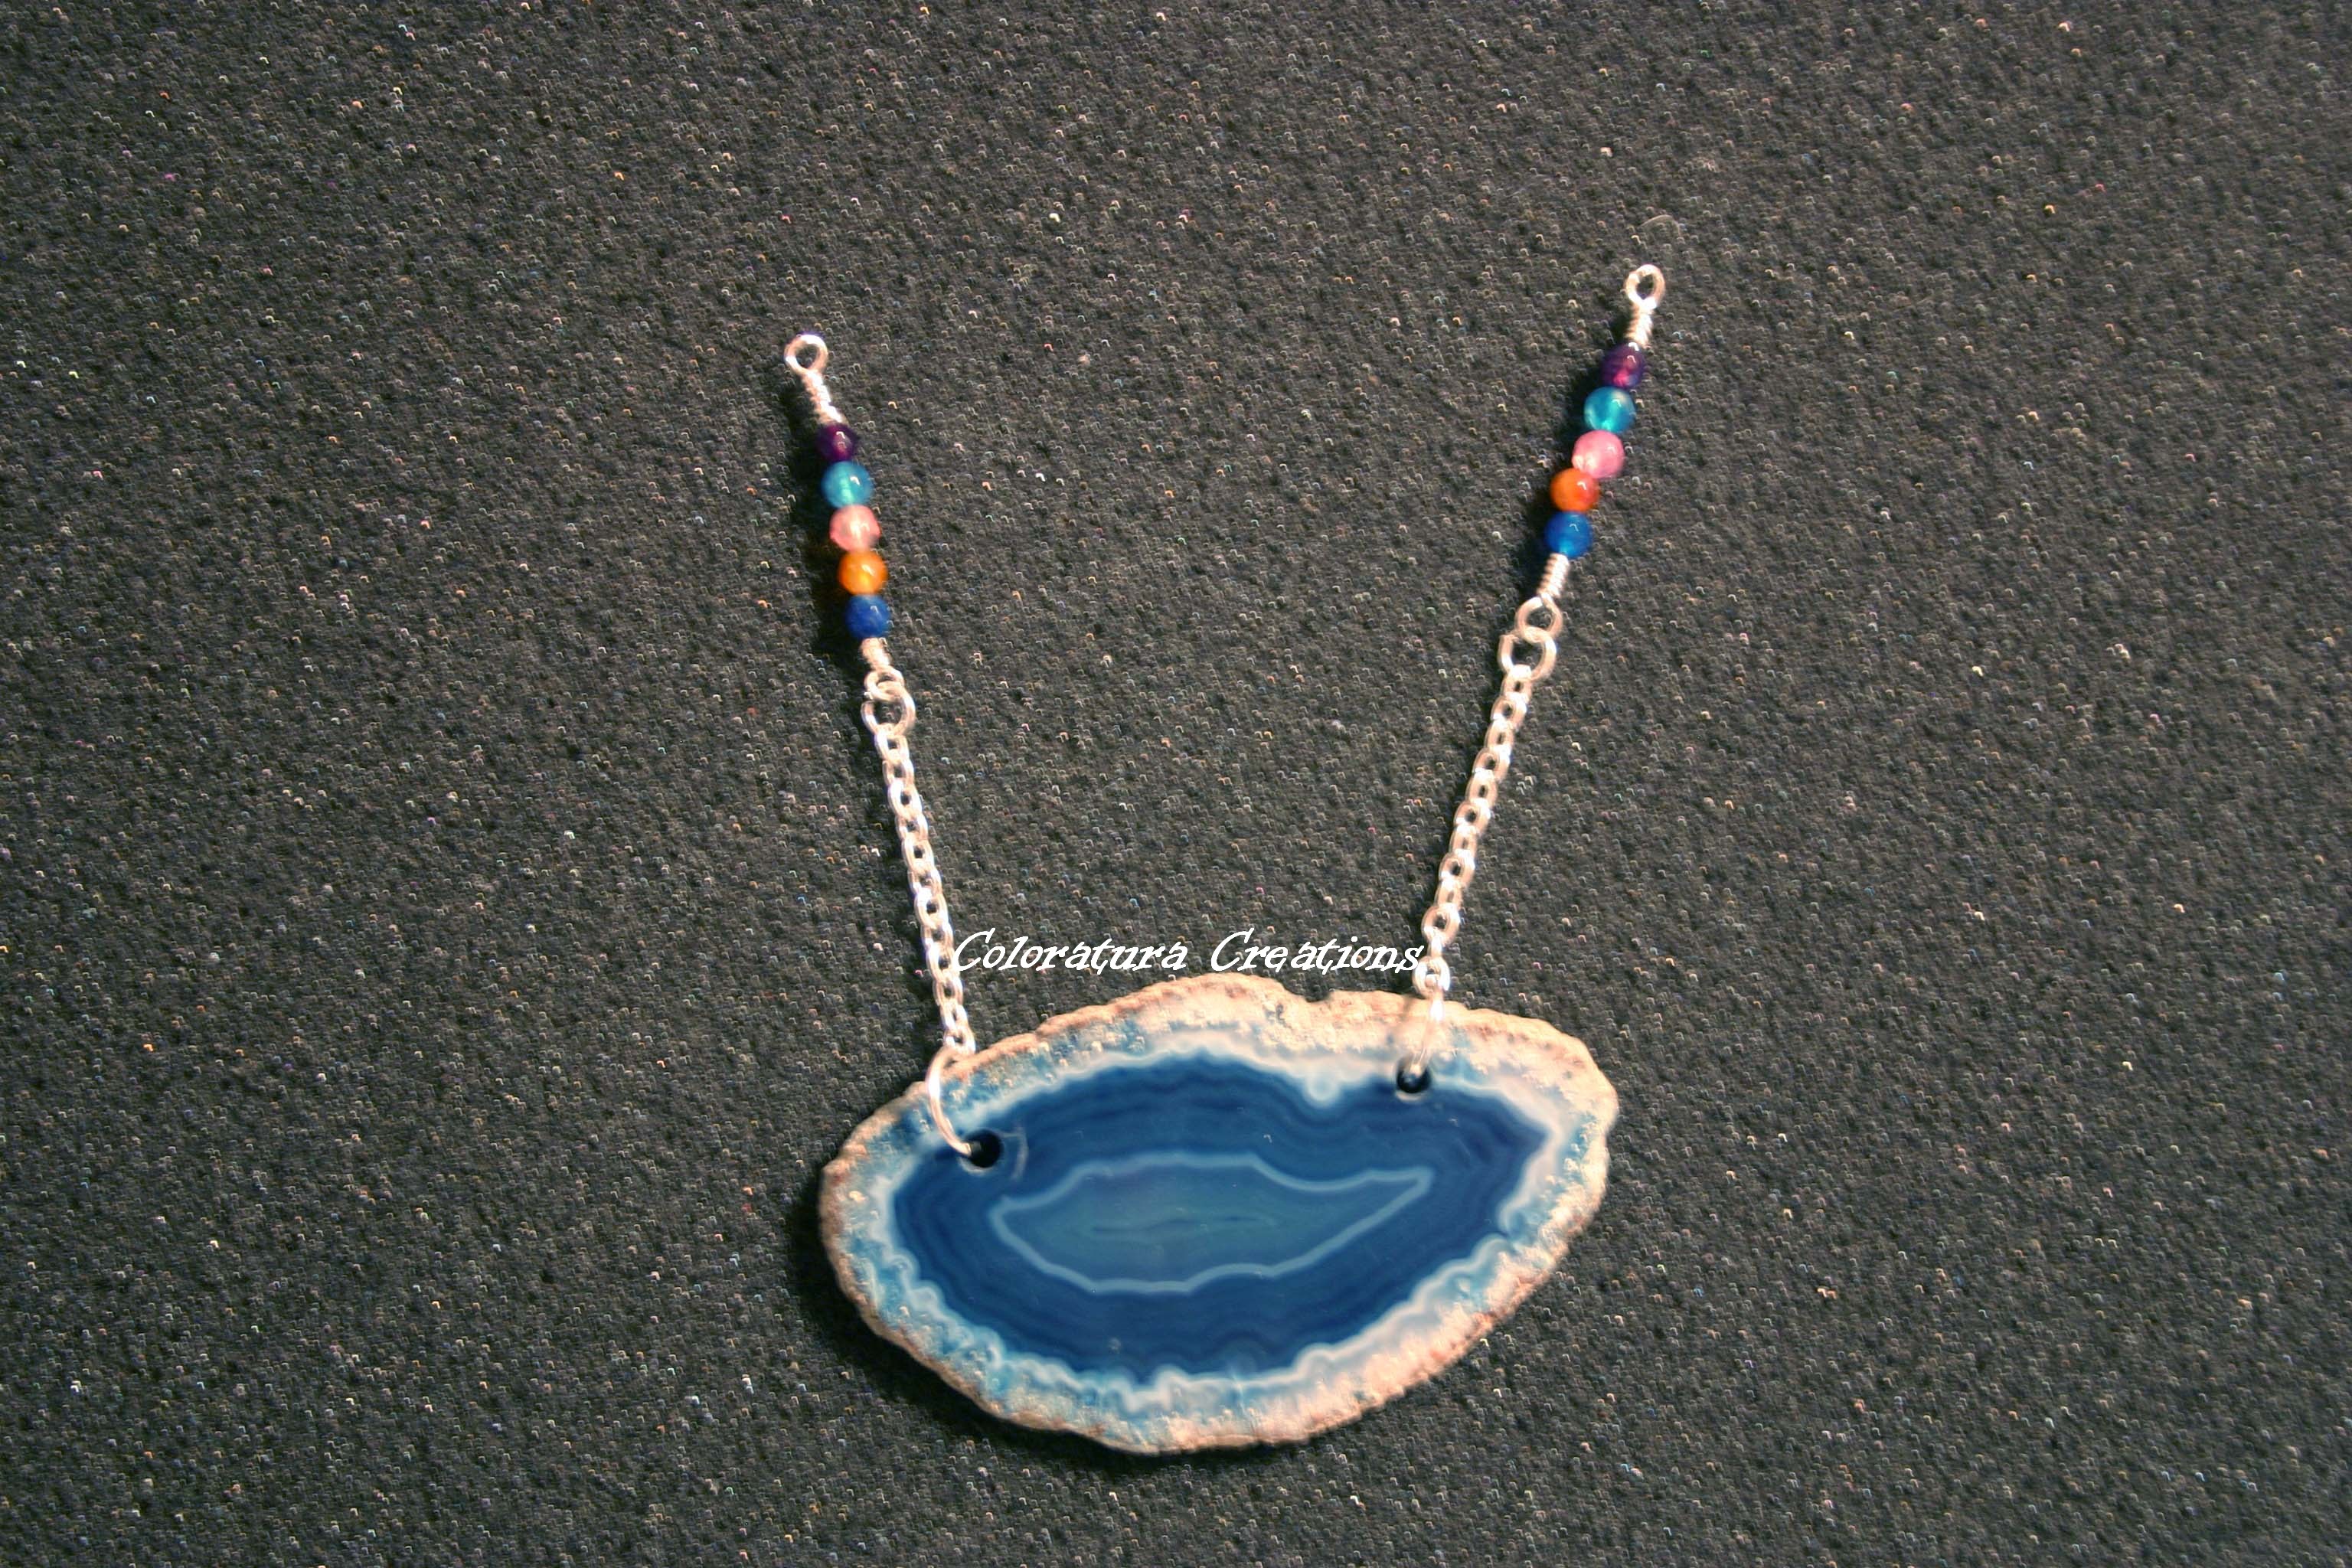
Thread one of your beads on the unbent end. I used bead caps on either side of a jasper bead for more of a finished look. Make a loop after the bead (remember to bend out). Then cut your first loop off.
Add a bead on the other end of the denim tube, and curve the wire.

That’s it, you’re done! Told you it was easy!

One final thought: If your denim is longer than the wire, it will gather to create a ruffled effect. If it is the same length as the wire, it will lay smooth. It’s your choice, just cut your denim and wire accordingly. Here’s what the two look like: the bracelet with the blue beads uses denim cut to the same length as the wire while the bracelet with the green beads uses denim that is slightly longer than the wire.


Remember I said we’d do something with damaged hems, too? Well here’s denim wrap bracelet option 2:

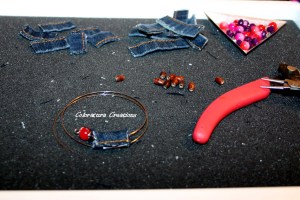
We’re going to prepare the jean’s hems in the same way as above, but then we will cut the hem into shorter lengths to make denim “beads.” I cut an equal number of 1″ and 2″ lengths for variety.

You’ll need the same supplies as the first bracelet, but more beads are needed since we will be putting beads in between every denim “bead.” Using several glass beads in between each denim “bead,” I was able to make 2 bracelets out of one hem.

Start by cutting 2 loops of memory wire (or whatever length you prefer). Then make a loop on one end and string your first bead.

Add on your first denim “bead.”

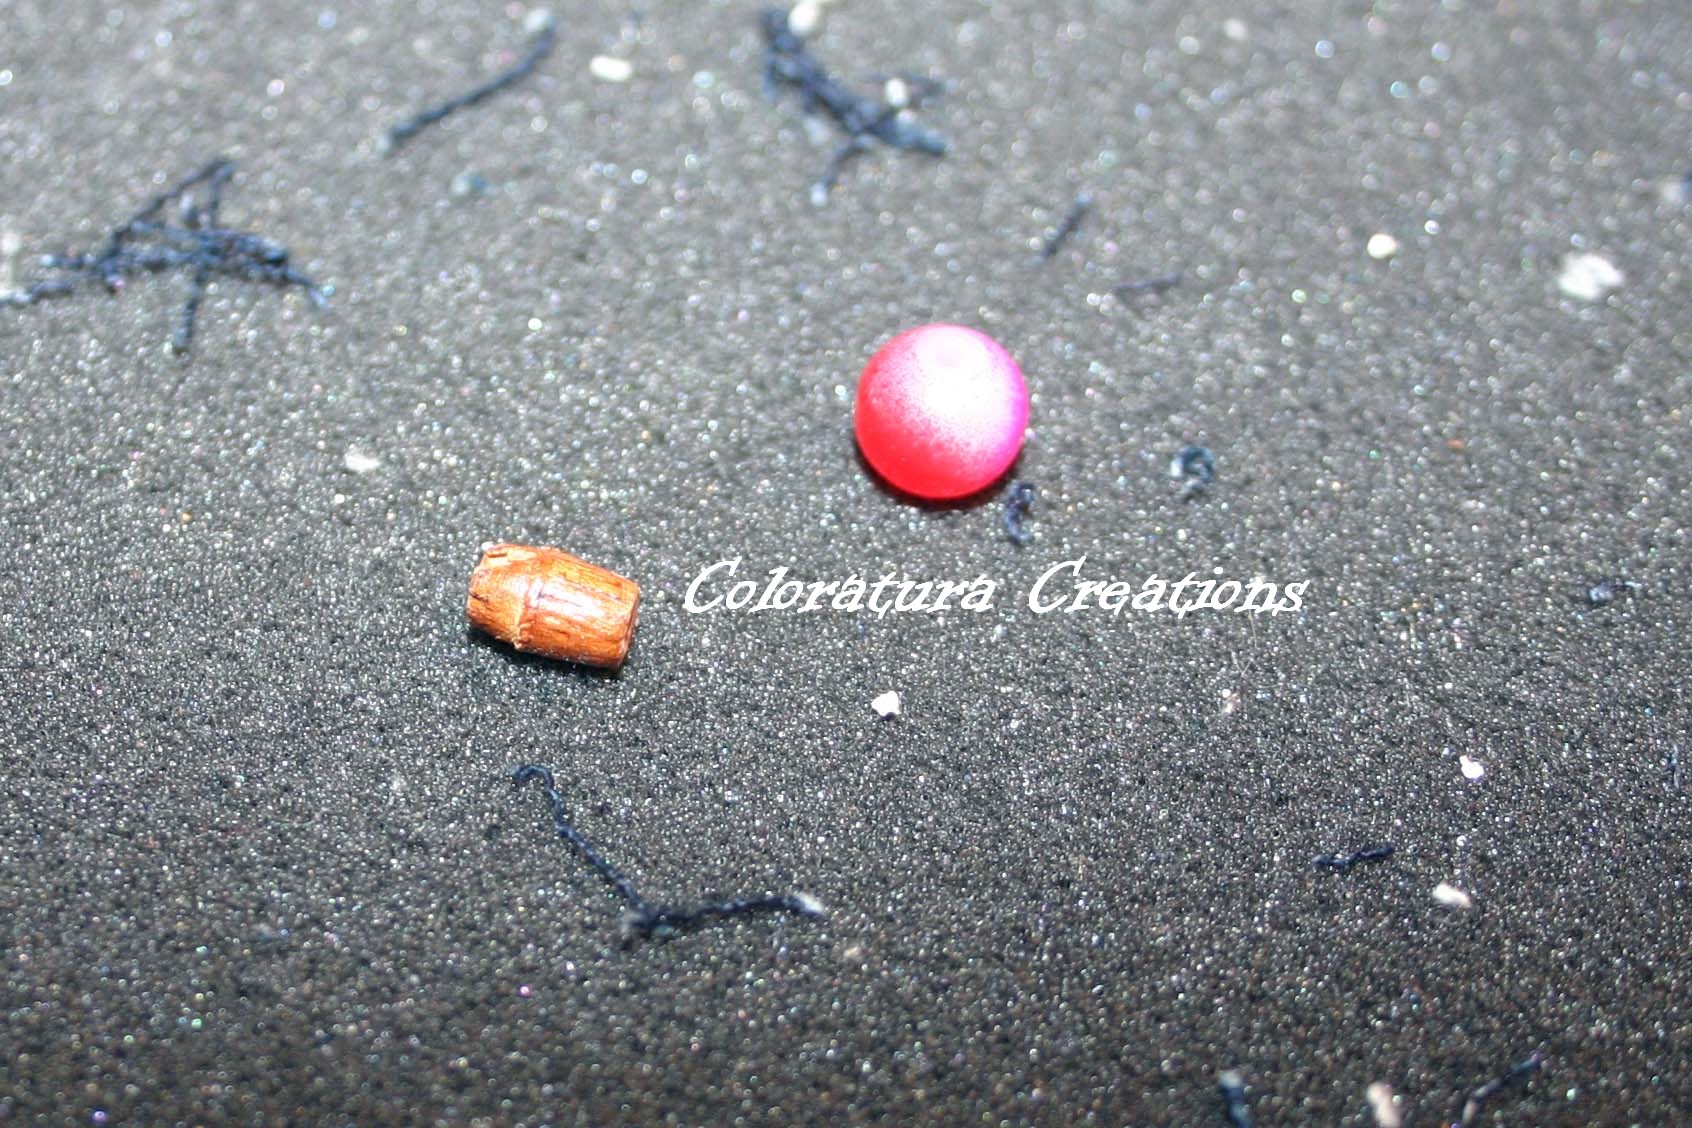
I thought the denim looked kind of hollow, so I added some inexpensive wooden beads inside the denim. I threaded on a few wooden beads first, and then slid the denim over top. This step isn’t necessary, it’s up to you, but any small inexpensive bead would work to round out the denim slightly. Here’s what I used:

And here’s what it looked like with the wooden beads inside:
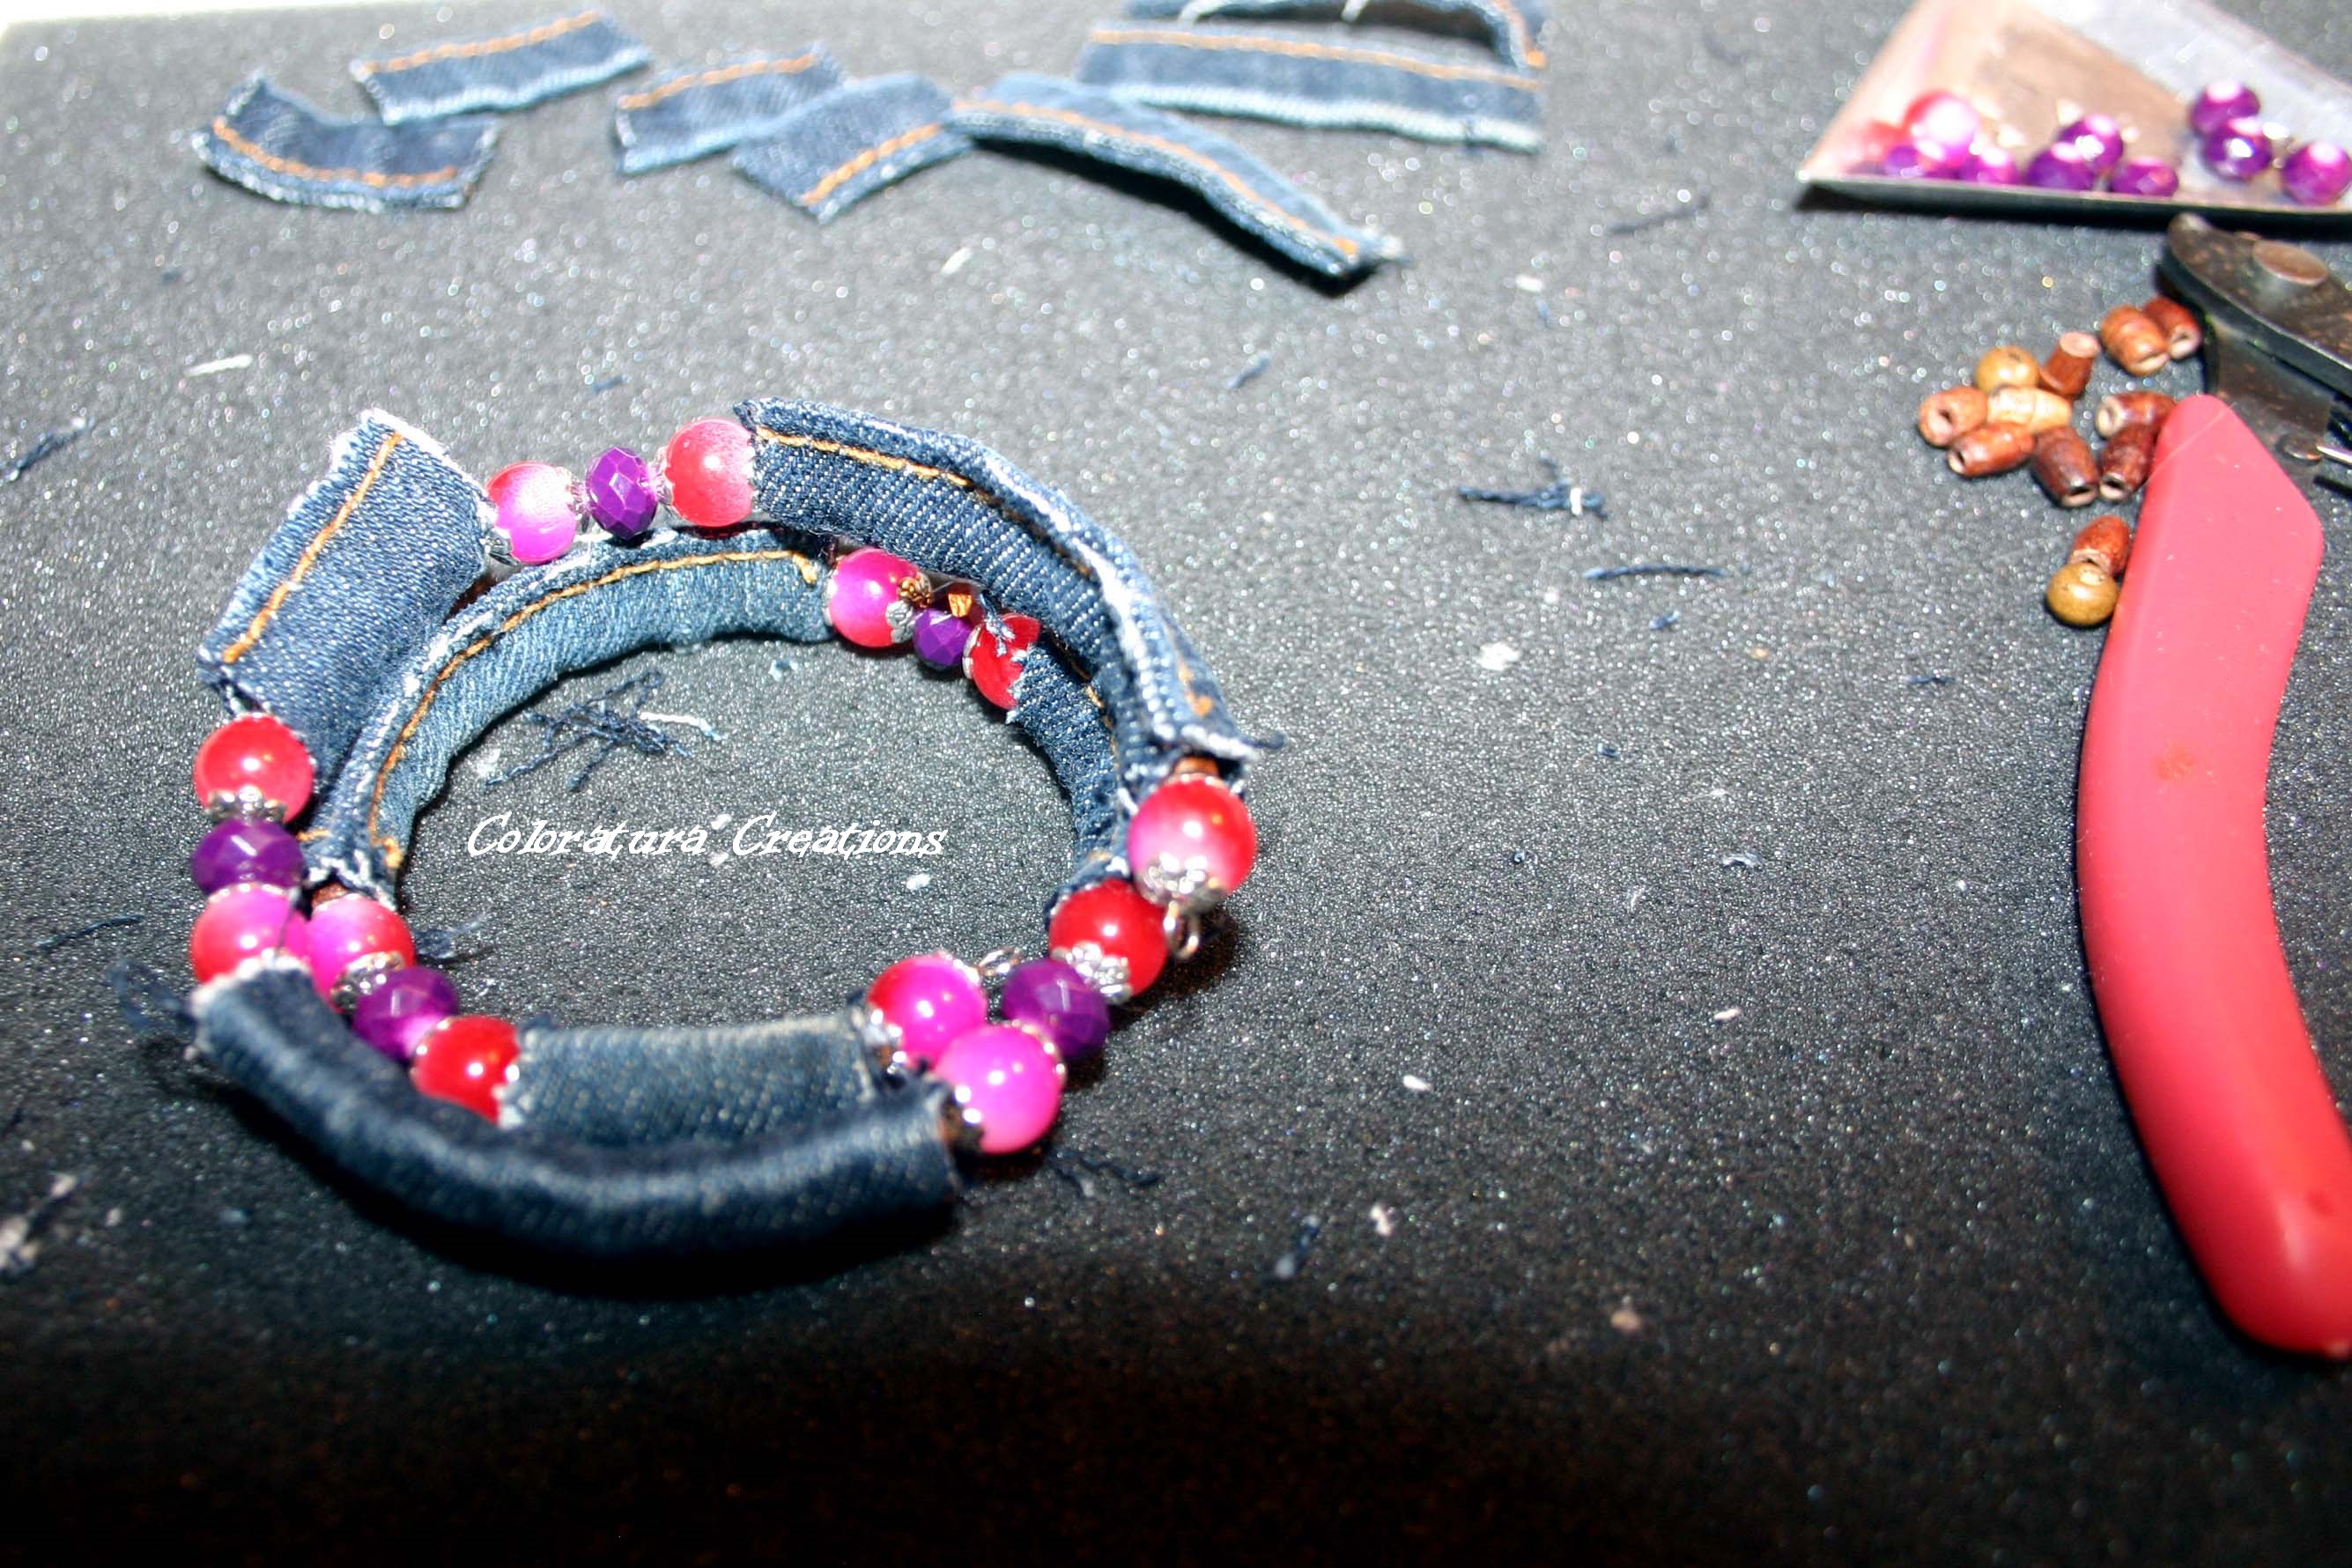
Continue stringing for the length of the wire. I alternated 1″ and 2″ strips of denim in between a pattern of 3 glass beads. Look closely and you can see the wooden beads peaking out of the denim.

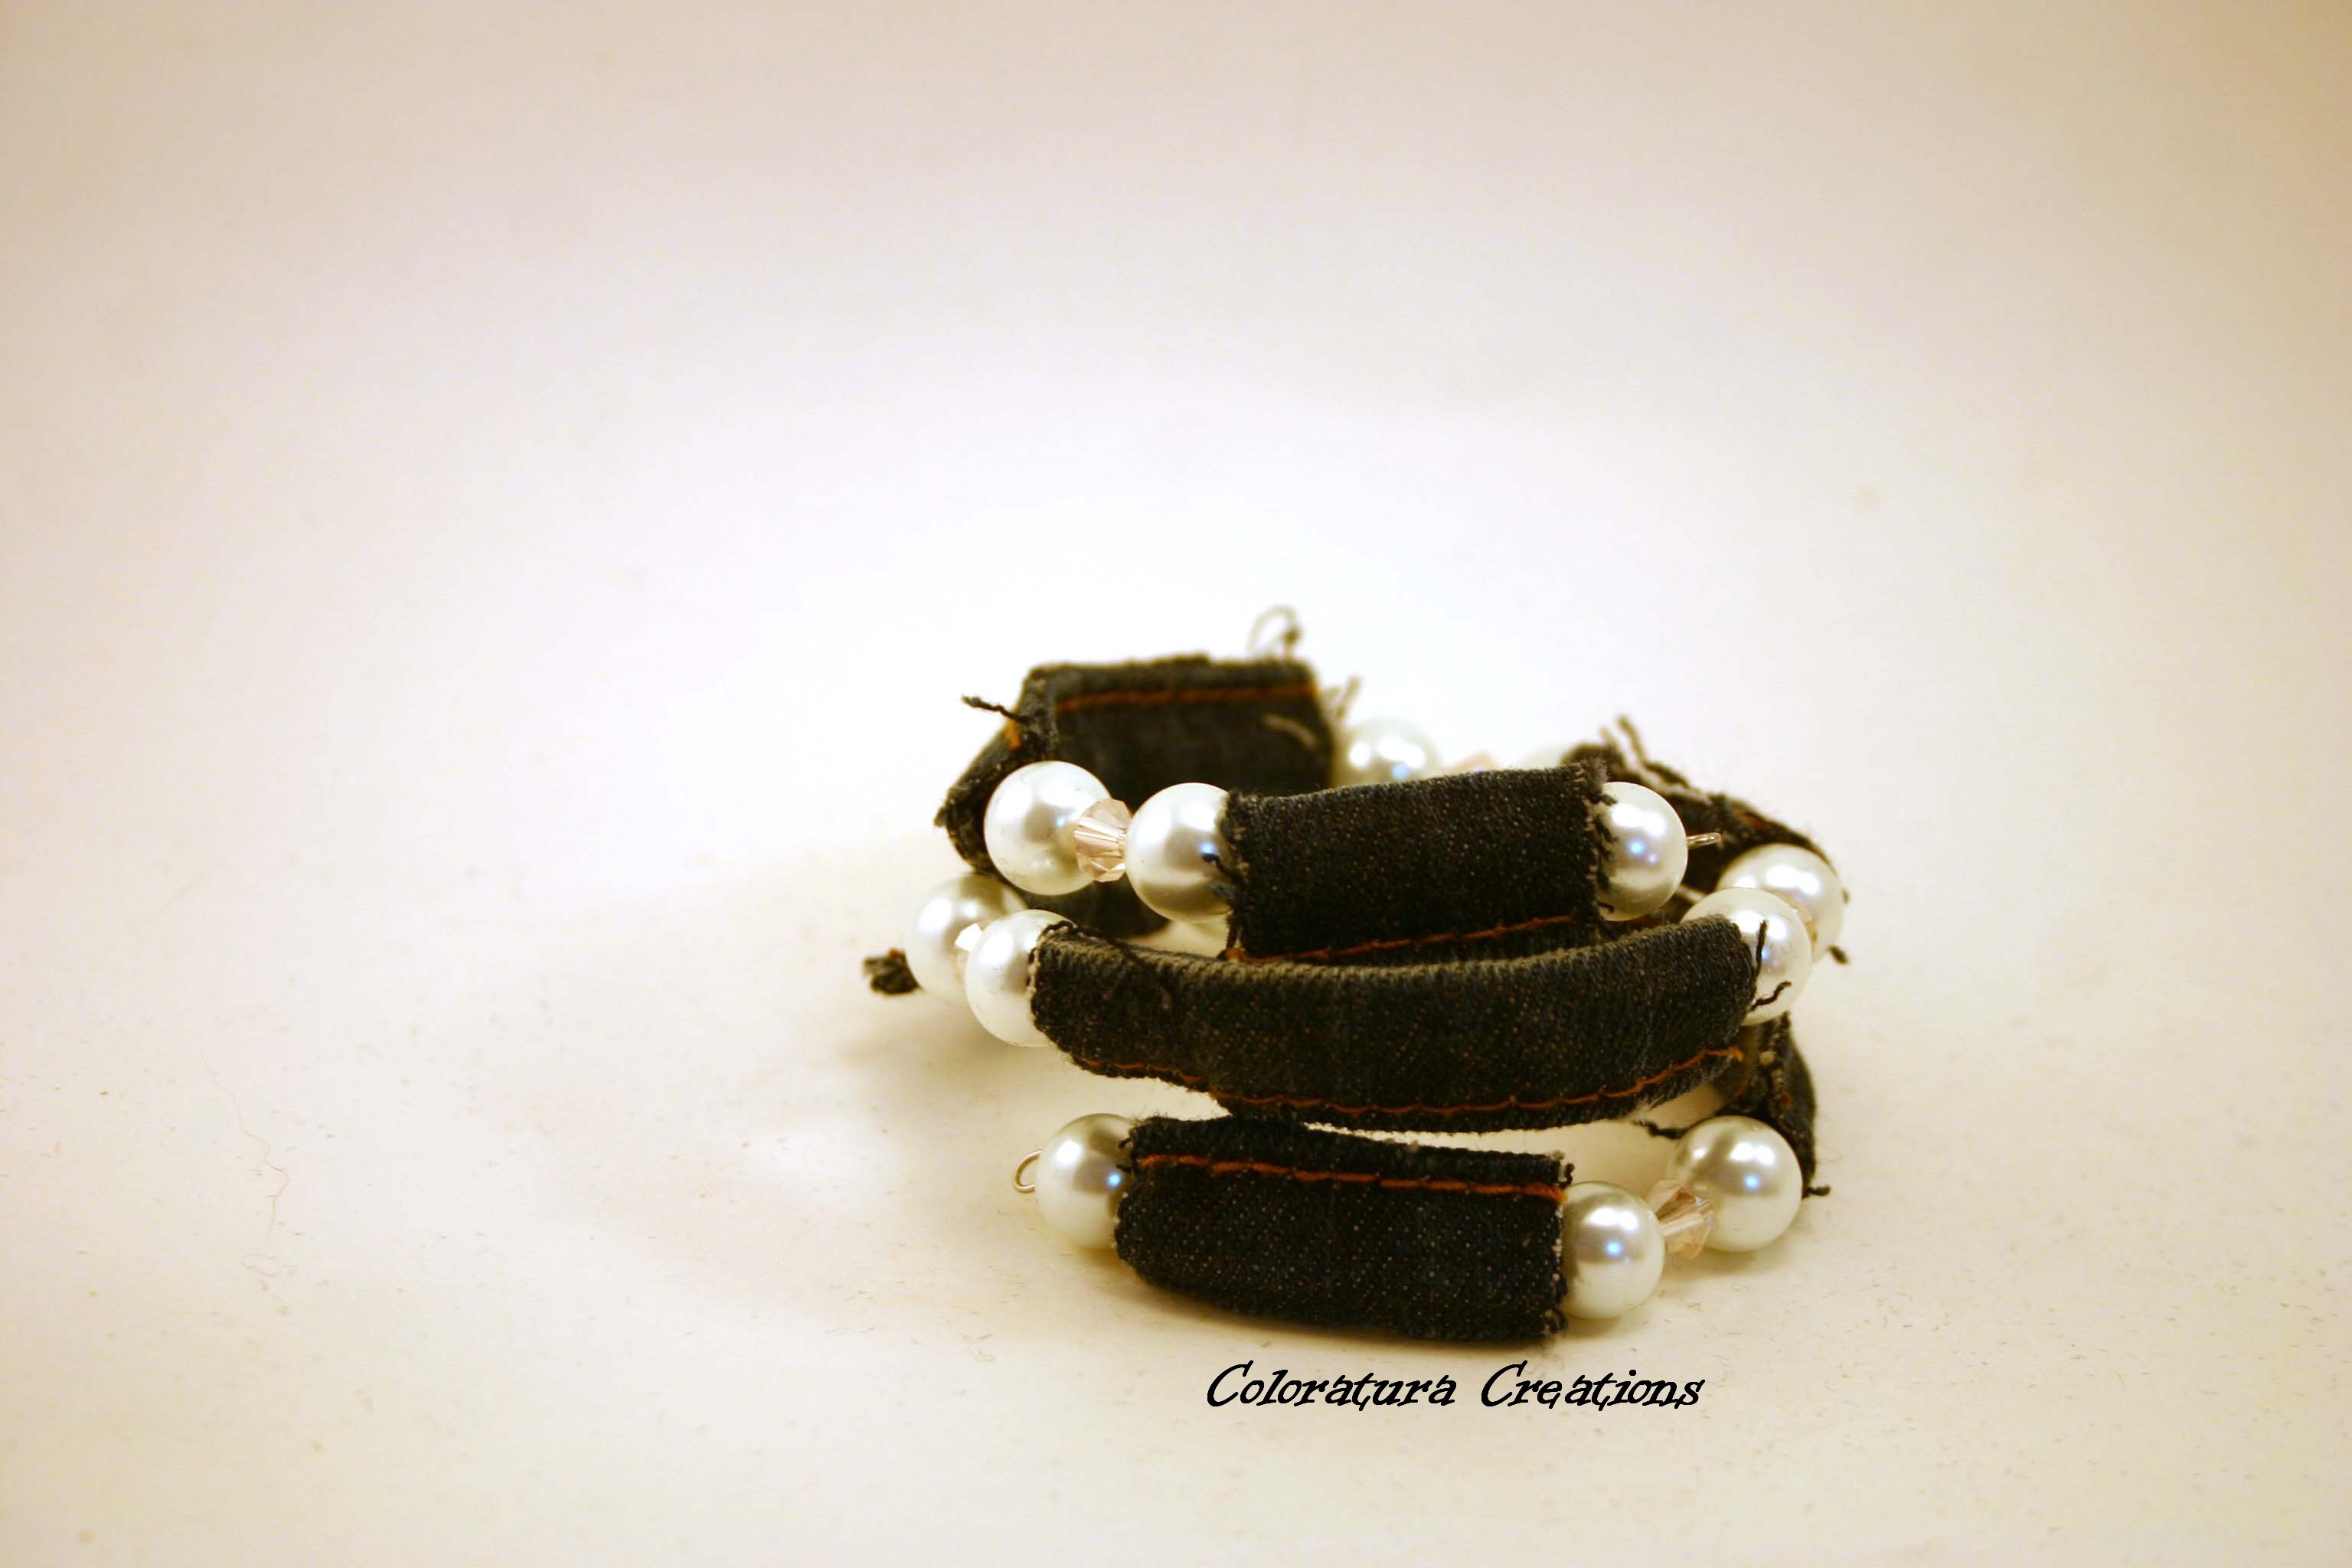
Add a bead on the opposite end, make a final loop and you’ve created your second bracelet!

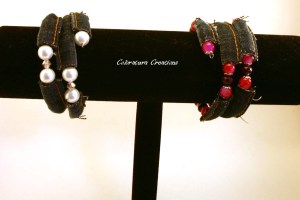
Depending on the length you chose, you probably have some denim “beads” left, so make another bracelet! I just love the contrast of the pearls and crystals with the denim, this bracelet is my favorite!

Here’s the two denim “bead” bracelets.


Hope you enjoyed this easy project! I’d love to see your variations!