

This is a quick and easy tutorial for making fun and sparkly pendants inspired by druzy and opal! No jewelry experience necessary, and you don’t need tools or many supplies to make them. So let’s get started!

Here’s what you need:
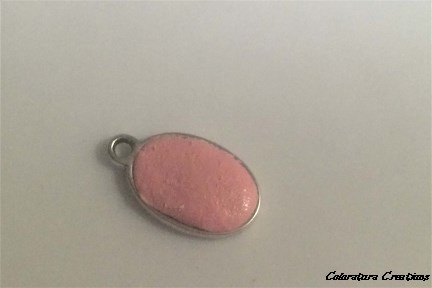
- Bezels in any size and shape that appeals to you, you can get these at the craft store in the jewelry section, they’re basically a cup to contain your pendant. For ease of making your pendant into a necklace, consider one with a pre-made bail (loop for hanging) so you don’t need tools to assemble your necklace (like the oval bezel in the right image above).
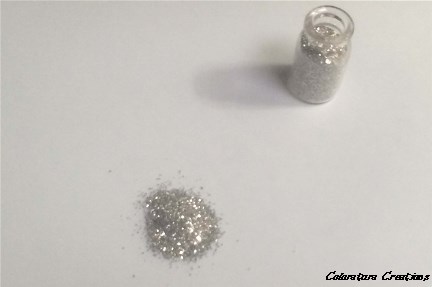
- For the druzy pendant: glass glitter, which is coarser than traditional glitter, because, you guessed it, it’s made of glass
- For the fauxpal pendant: Iced Enamels Shattered Opal
- Crystal Clay (2-part expoxy clay) in your choice of color, I had pink and sage handy, so that’s what I used
- Loose crystals for accents, if desired
- Sealant, I used Sculpey Glaze Gloss, but you could use whatever you have lying around like Mod Podge or Dimensional Glaze

Working with the clay is so easy! You just take equal parts of each color, and work them together until they’re mixed evenly (no more swirls).


Take an appropriately sized ball of your mixed clay and smash it into your bezel. Be sure to work it to the edges. Make the clay a bit higher than the bezel for the druzy pendant so you can glitter the sides, too! You can dome it, make it flat, whatever you want! And since you’re mimicking the look of a stone, it doesn’t need to be perfect.
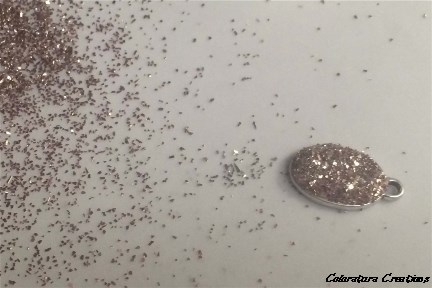
Now you’re ready to add the glitter! I laid a piece of paper on my work surface and just dumped the glitter on.
Shake off the access glitter and add more if needed. I chose to use 2 colors of glitter for added dimension. Again, glass glitter is made of glass, so be careful, it may be sharp!

Check for any large gaps, and press on more glitter. Don’t forget to cover the sides, too!
Experiment with different color combinations!

The fauxpal is the same basic idea, but with a different inclusion. For this pendant, I made the clay level with the bezel.

Then simply press on the shattered opal, or pour a bit on your paper and give your pendant a dunk.

Using different colors of clay will completely change the look of your fauxpal. I just love how it looks with the pink! The sage isn’t as appealing to me, but you never know until you try!


If you’d like to add some extra sparkle to your pendants, simply press rhinestones or crystals into the clay! Then accent the exposed areas with glitter or opal inclusions. Let the clay dry overnight, then paint a thin coat of sealer over the clay so you’re not shedding excess glitter.


That’s it, you’re done! I told you it was simple!
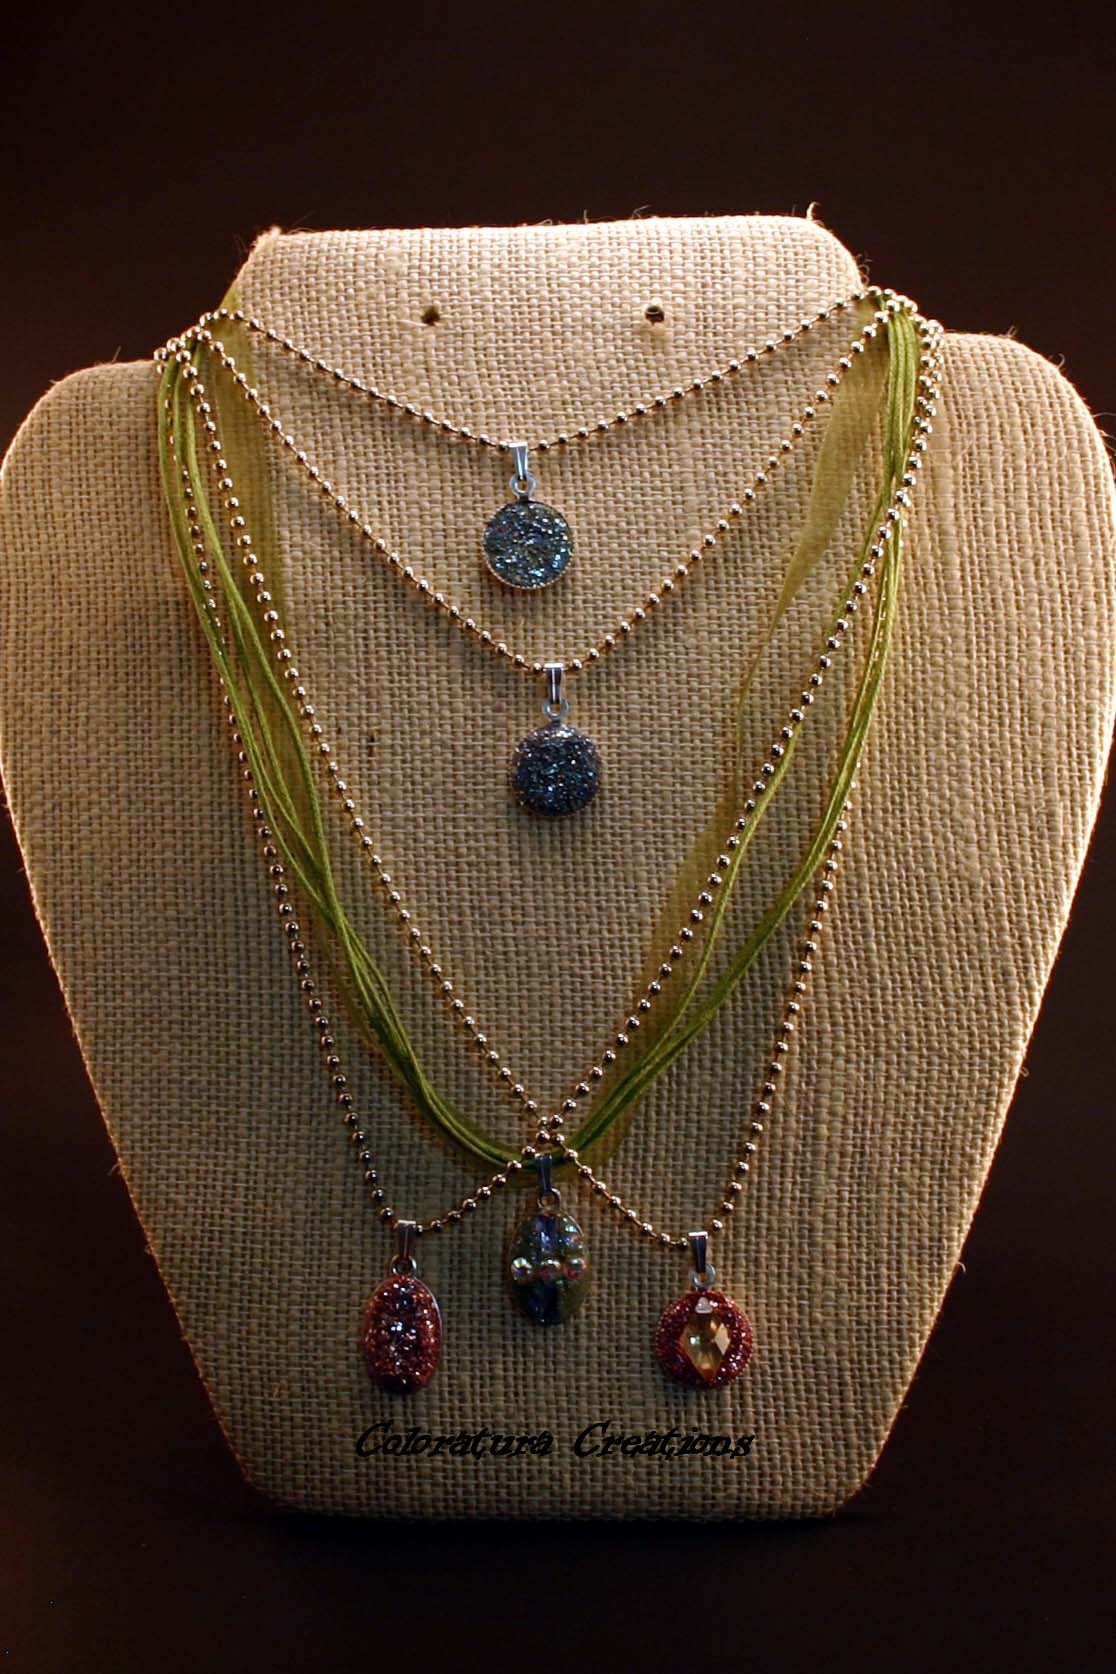
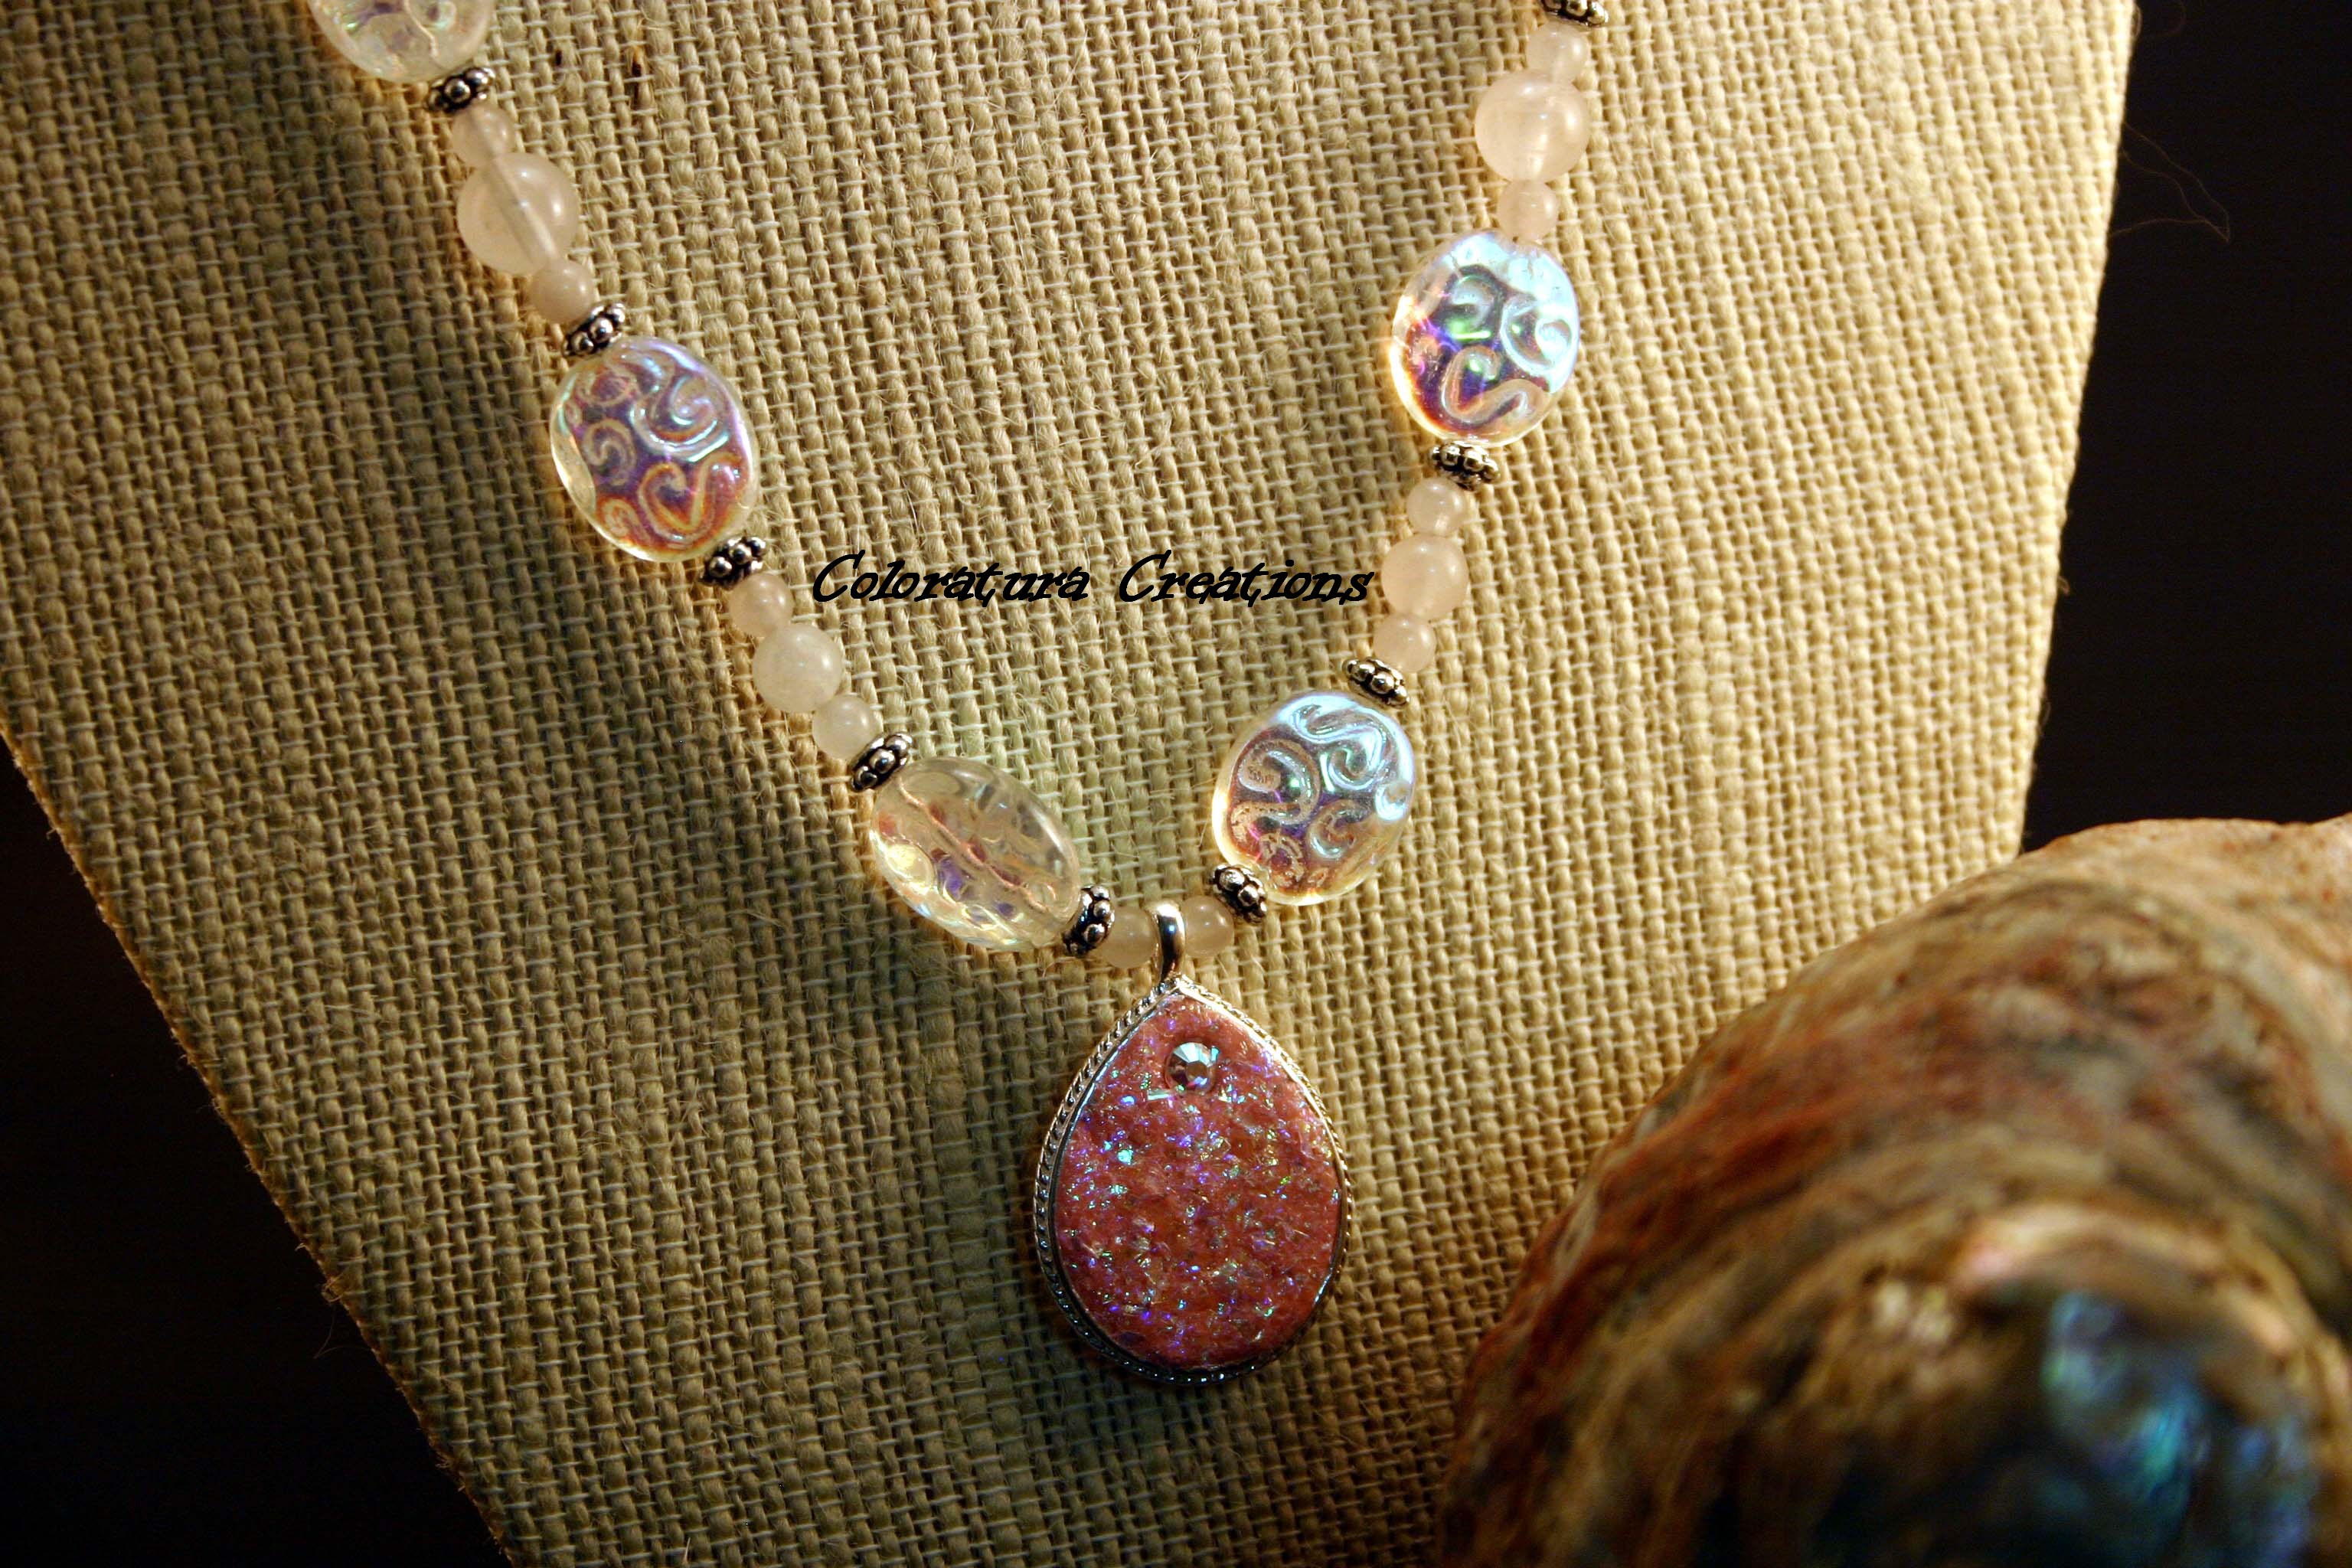
Here are the finished pendants. For a super simple necklace, simply thread the bezel onto the chain or ribbon of your choice and it’s ready to wear and enjoy!

If you’re ready for a slightly more in-depth project, you can bead a necklace to feature your new pendant.


Leave a comment