

I don’t know about you, but I have a pretty huge problem with pendants…The problem is that I keep buying them but I rarely use them. So while I’m wire-wrapping or stringing, all the pretty pendants I bought get tossed in a box. I decided to start using them, and as an added bonus, this necklace is a great way to use up extra beads as well. My first project used a pretty teal agate focal, and I just happened to have some agate beads the same color. I was so happy with how it turned out, I thought I’d dig through the pendant box again and make a tutorial.
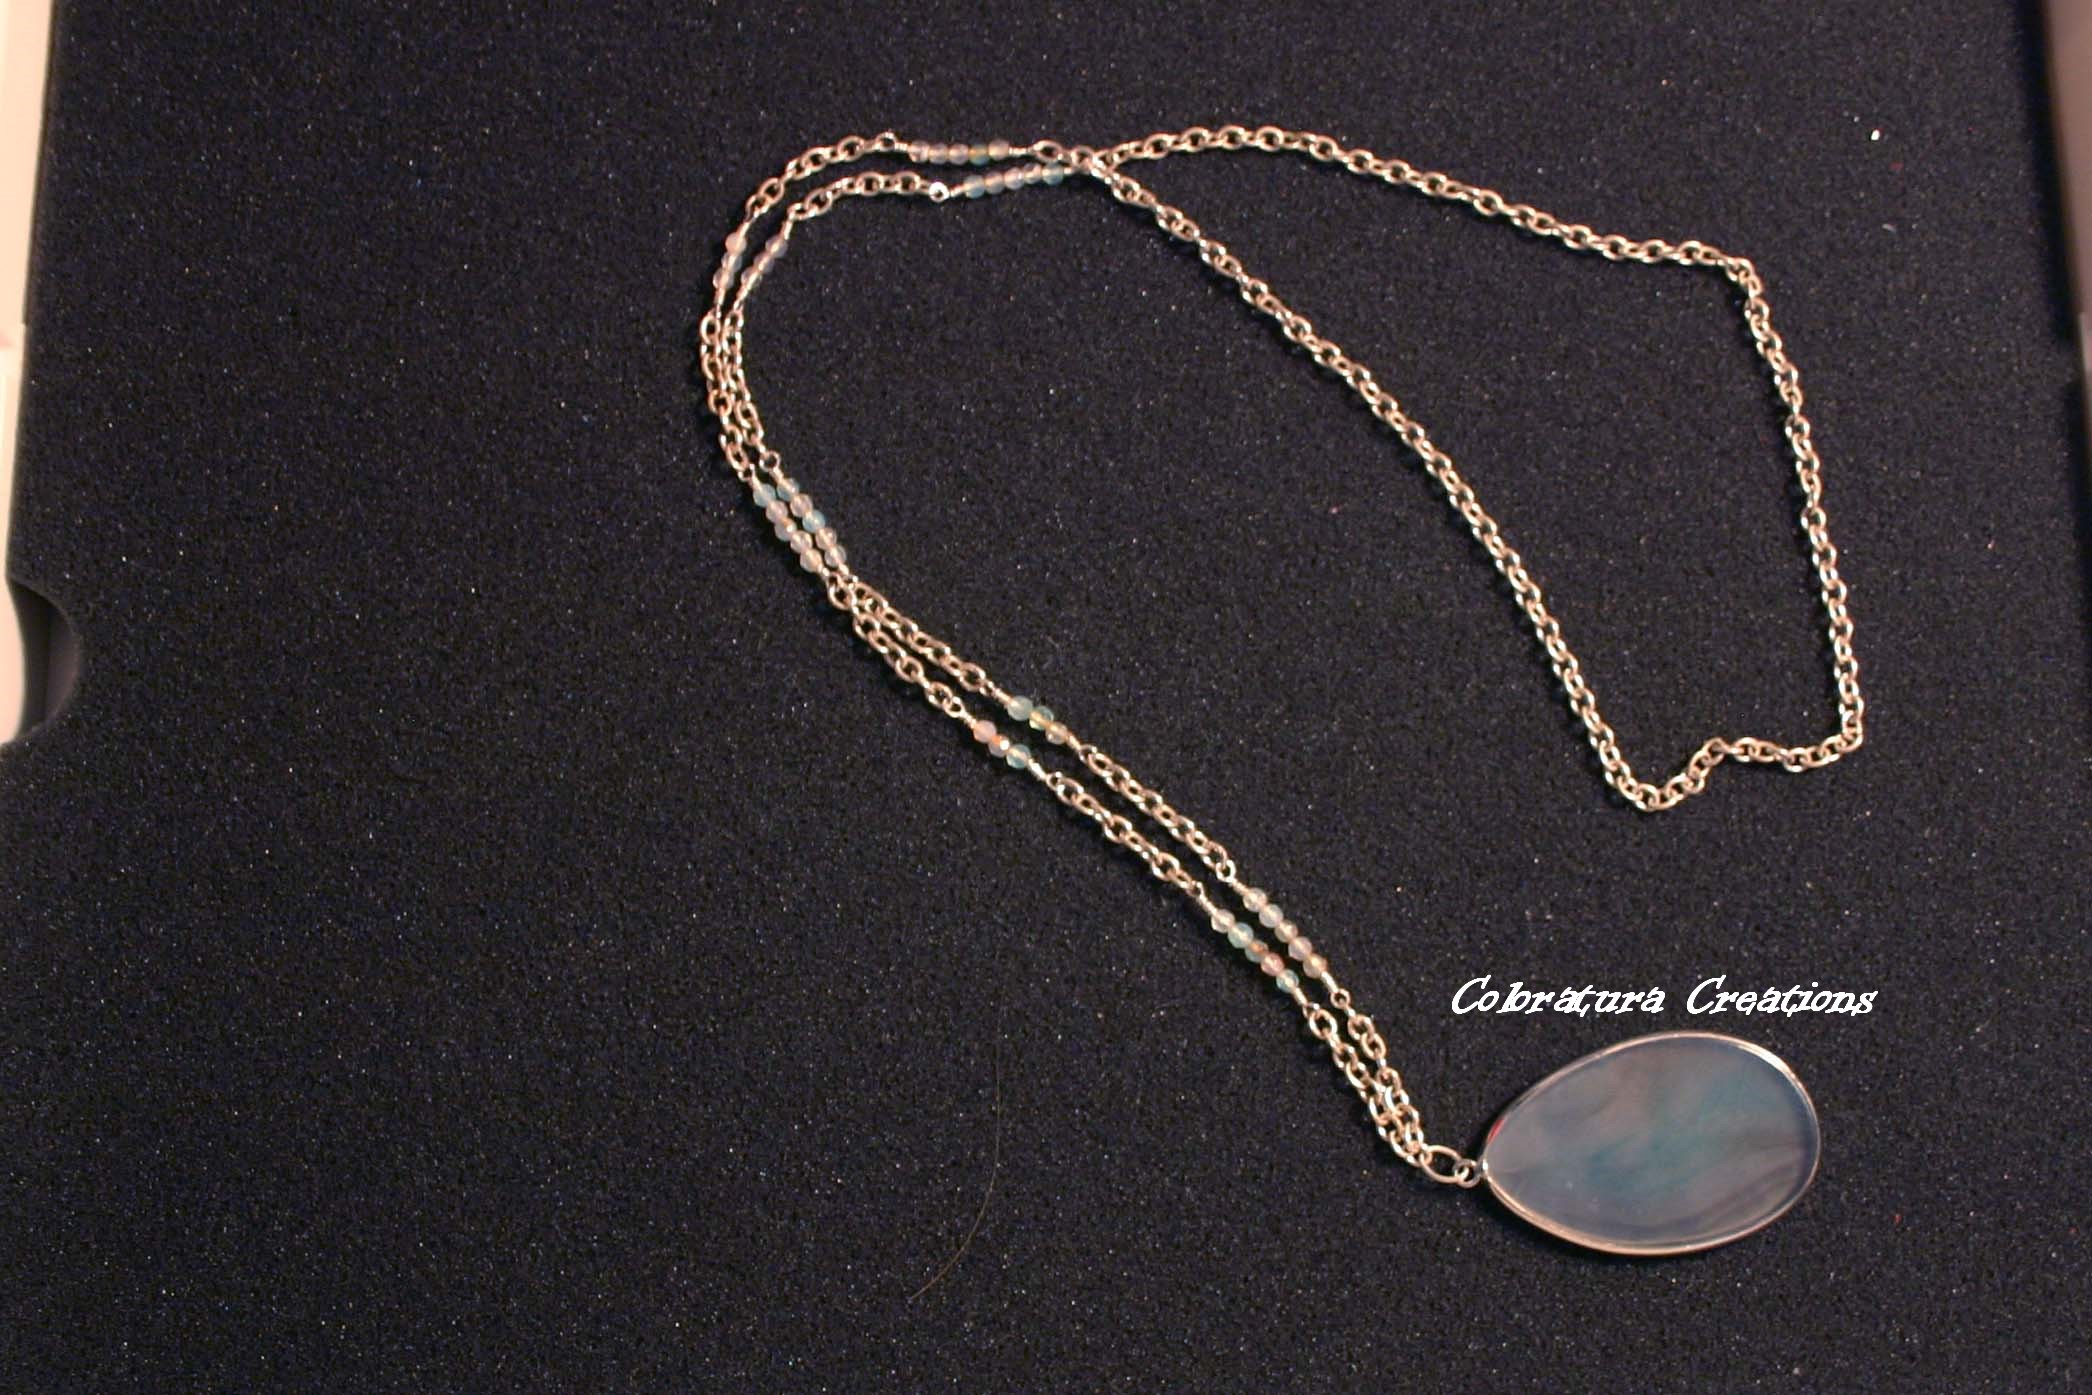
Here’s the inspiration necklace: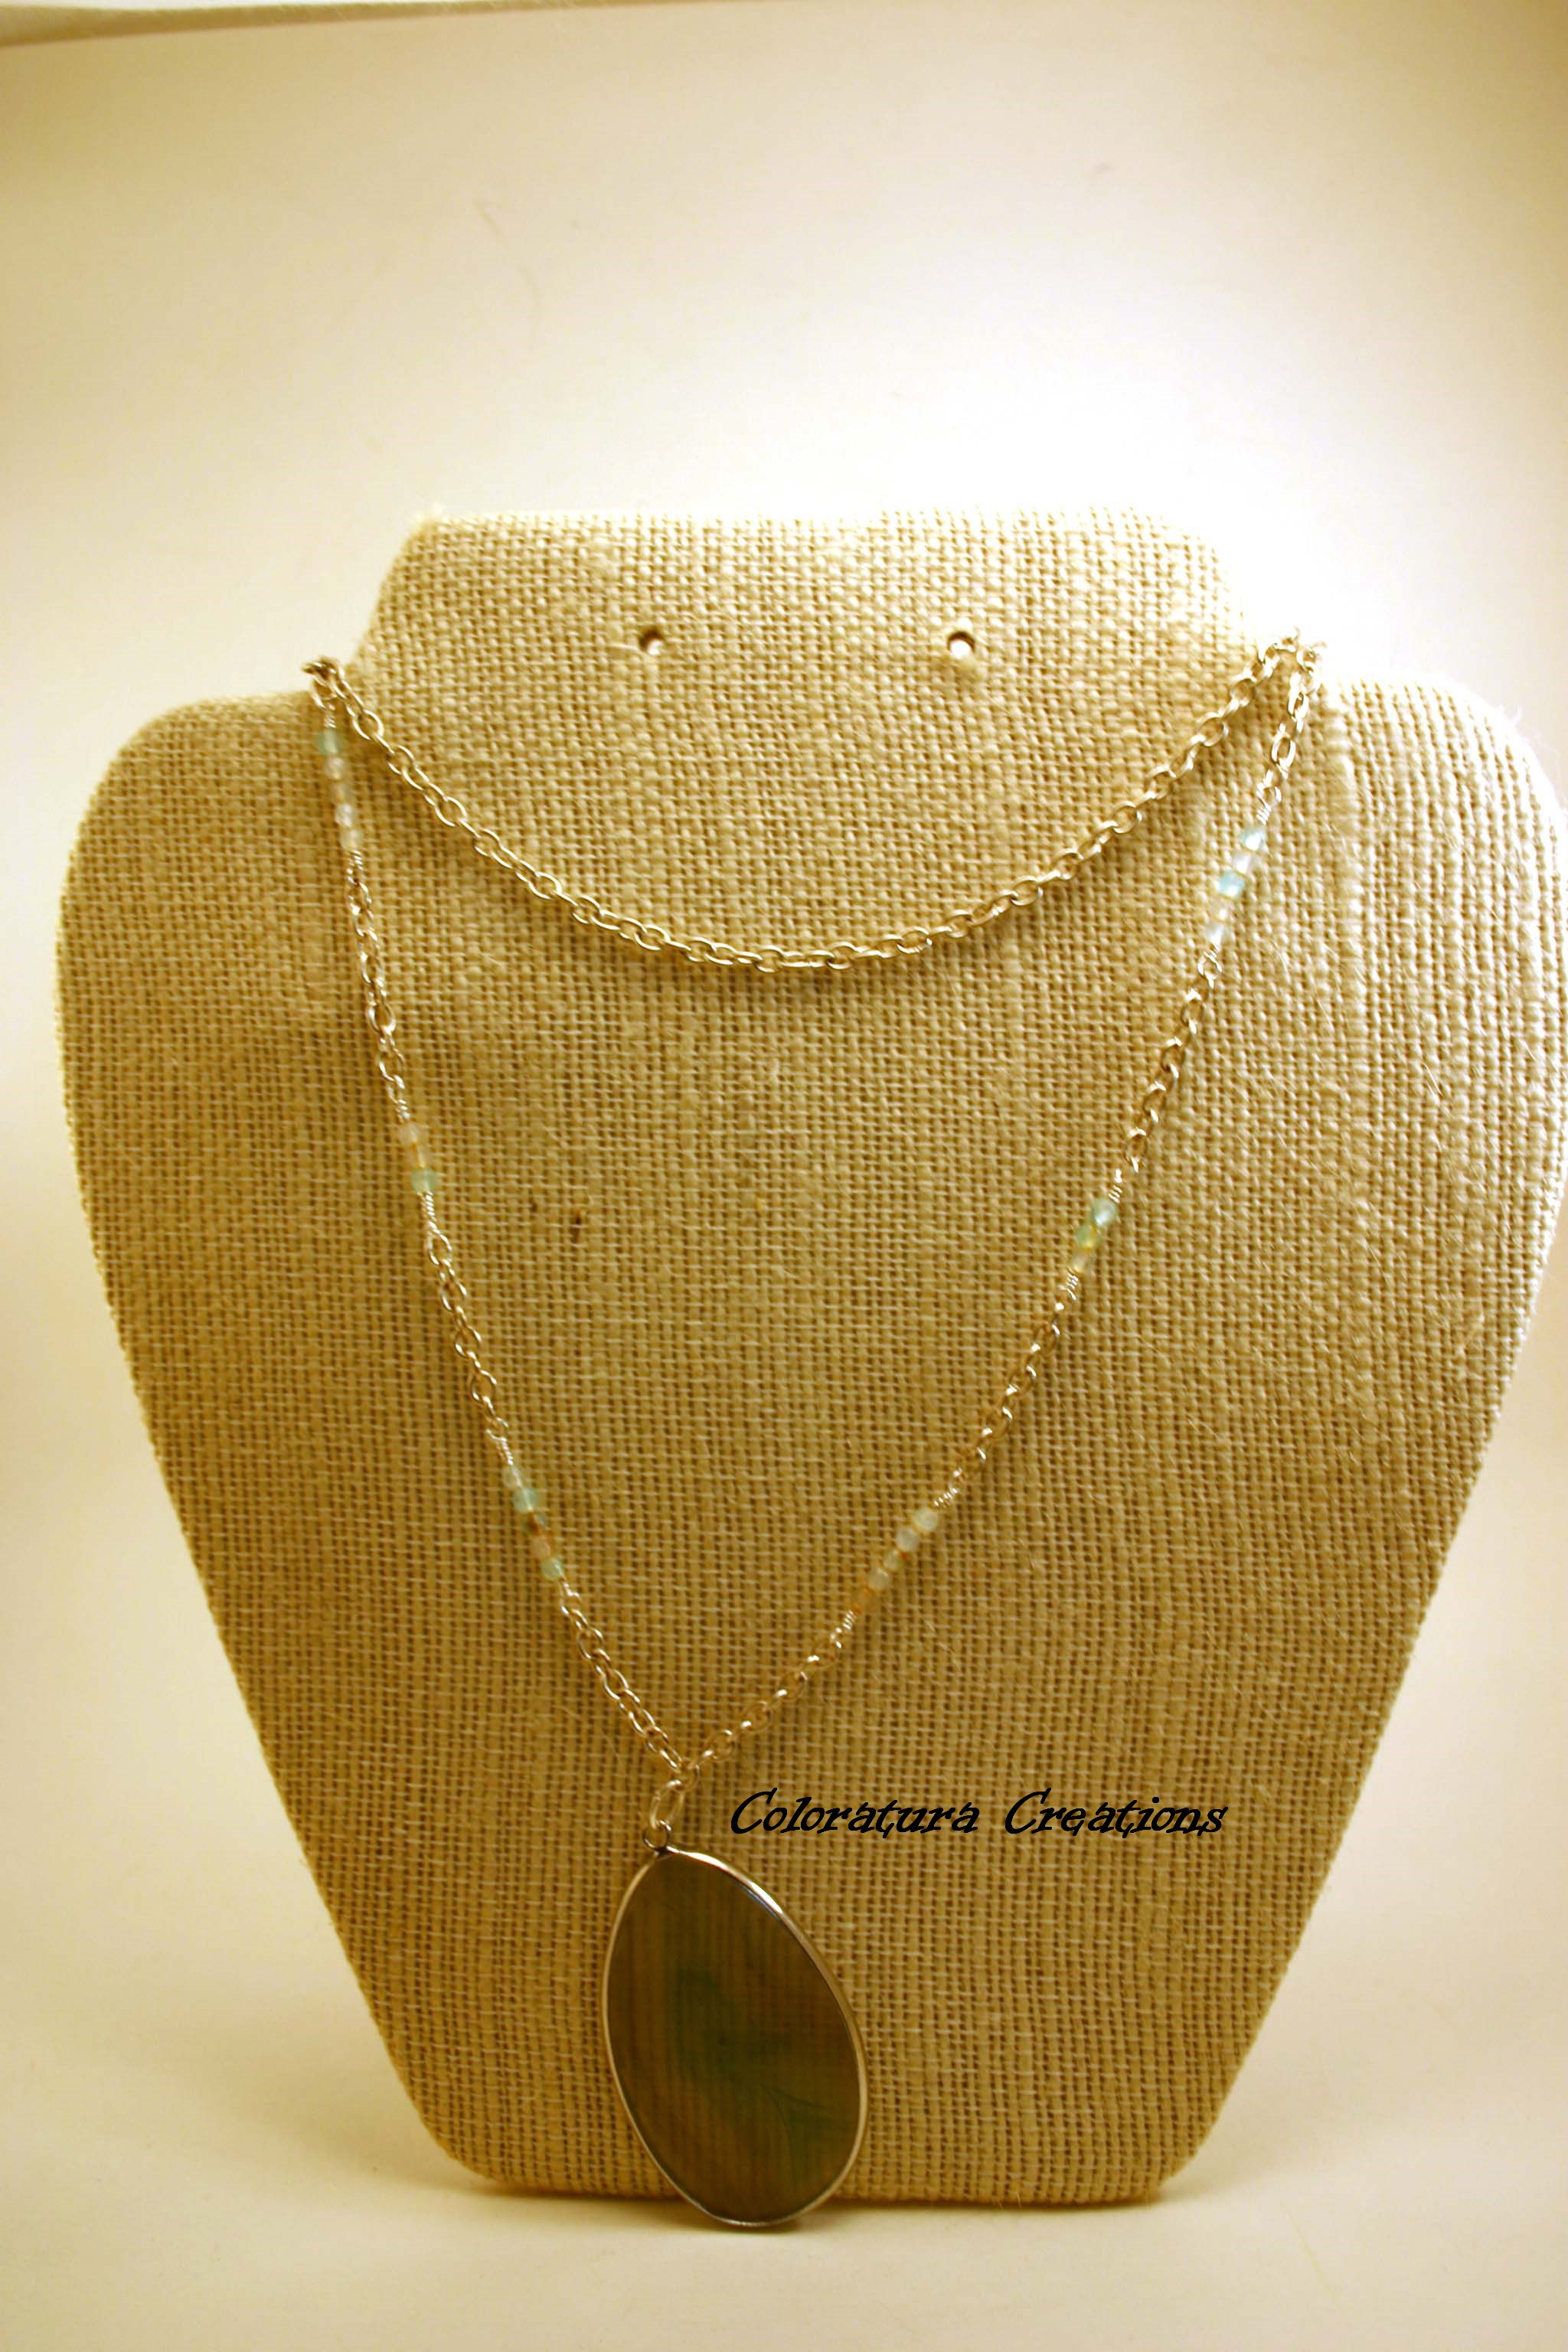
Materials: Chain, Wire (choose the heaviest gauge that will go through the holes of your beads), Small and Large Jump Rings, Magnetic Clasp, Pendant, Beads
Tools: Round Nose Pliers, Chain Nose or Bent Nose Pliers, Wire Cutters
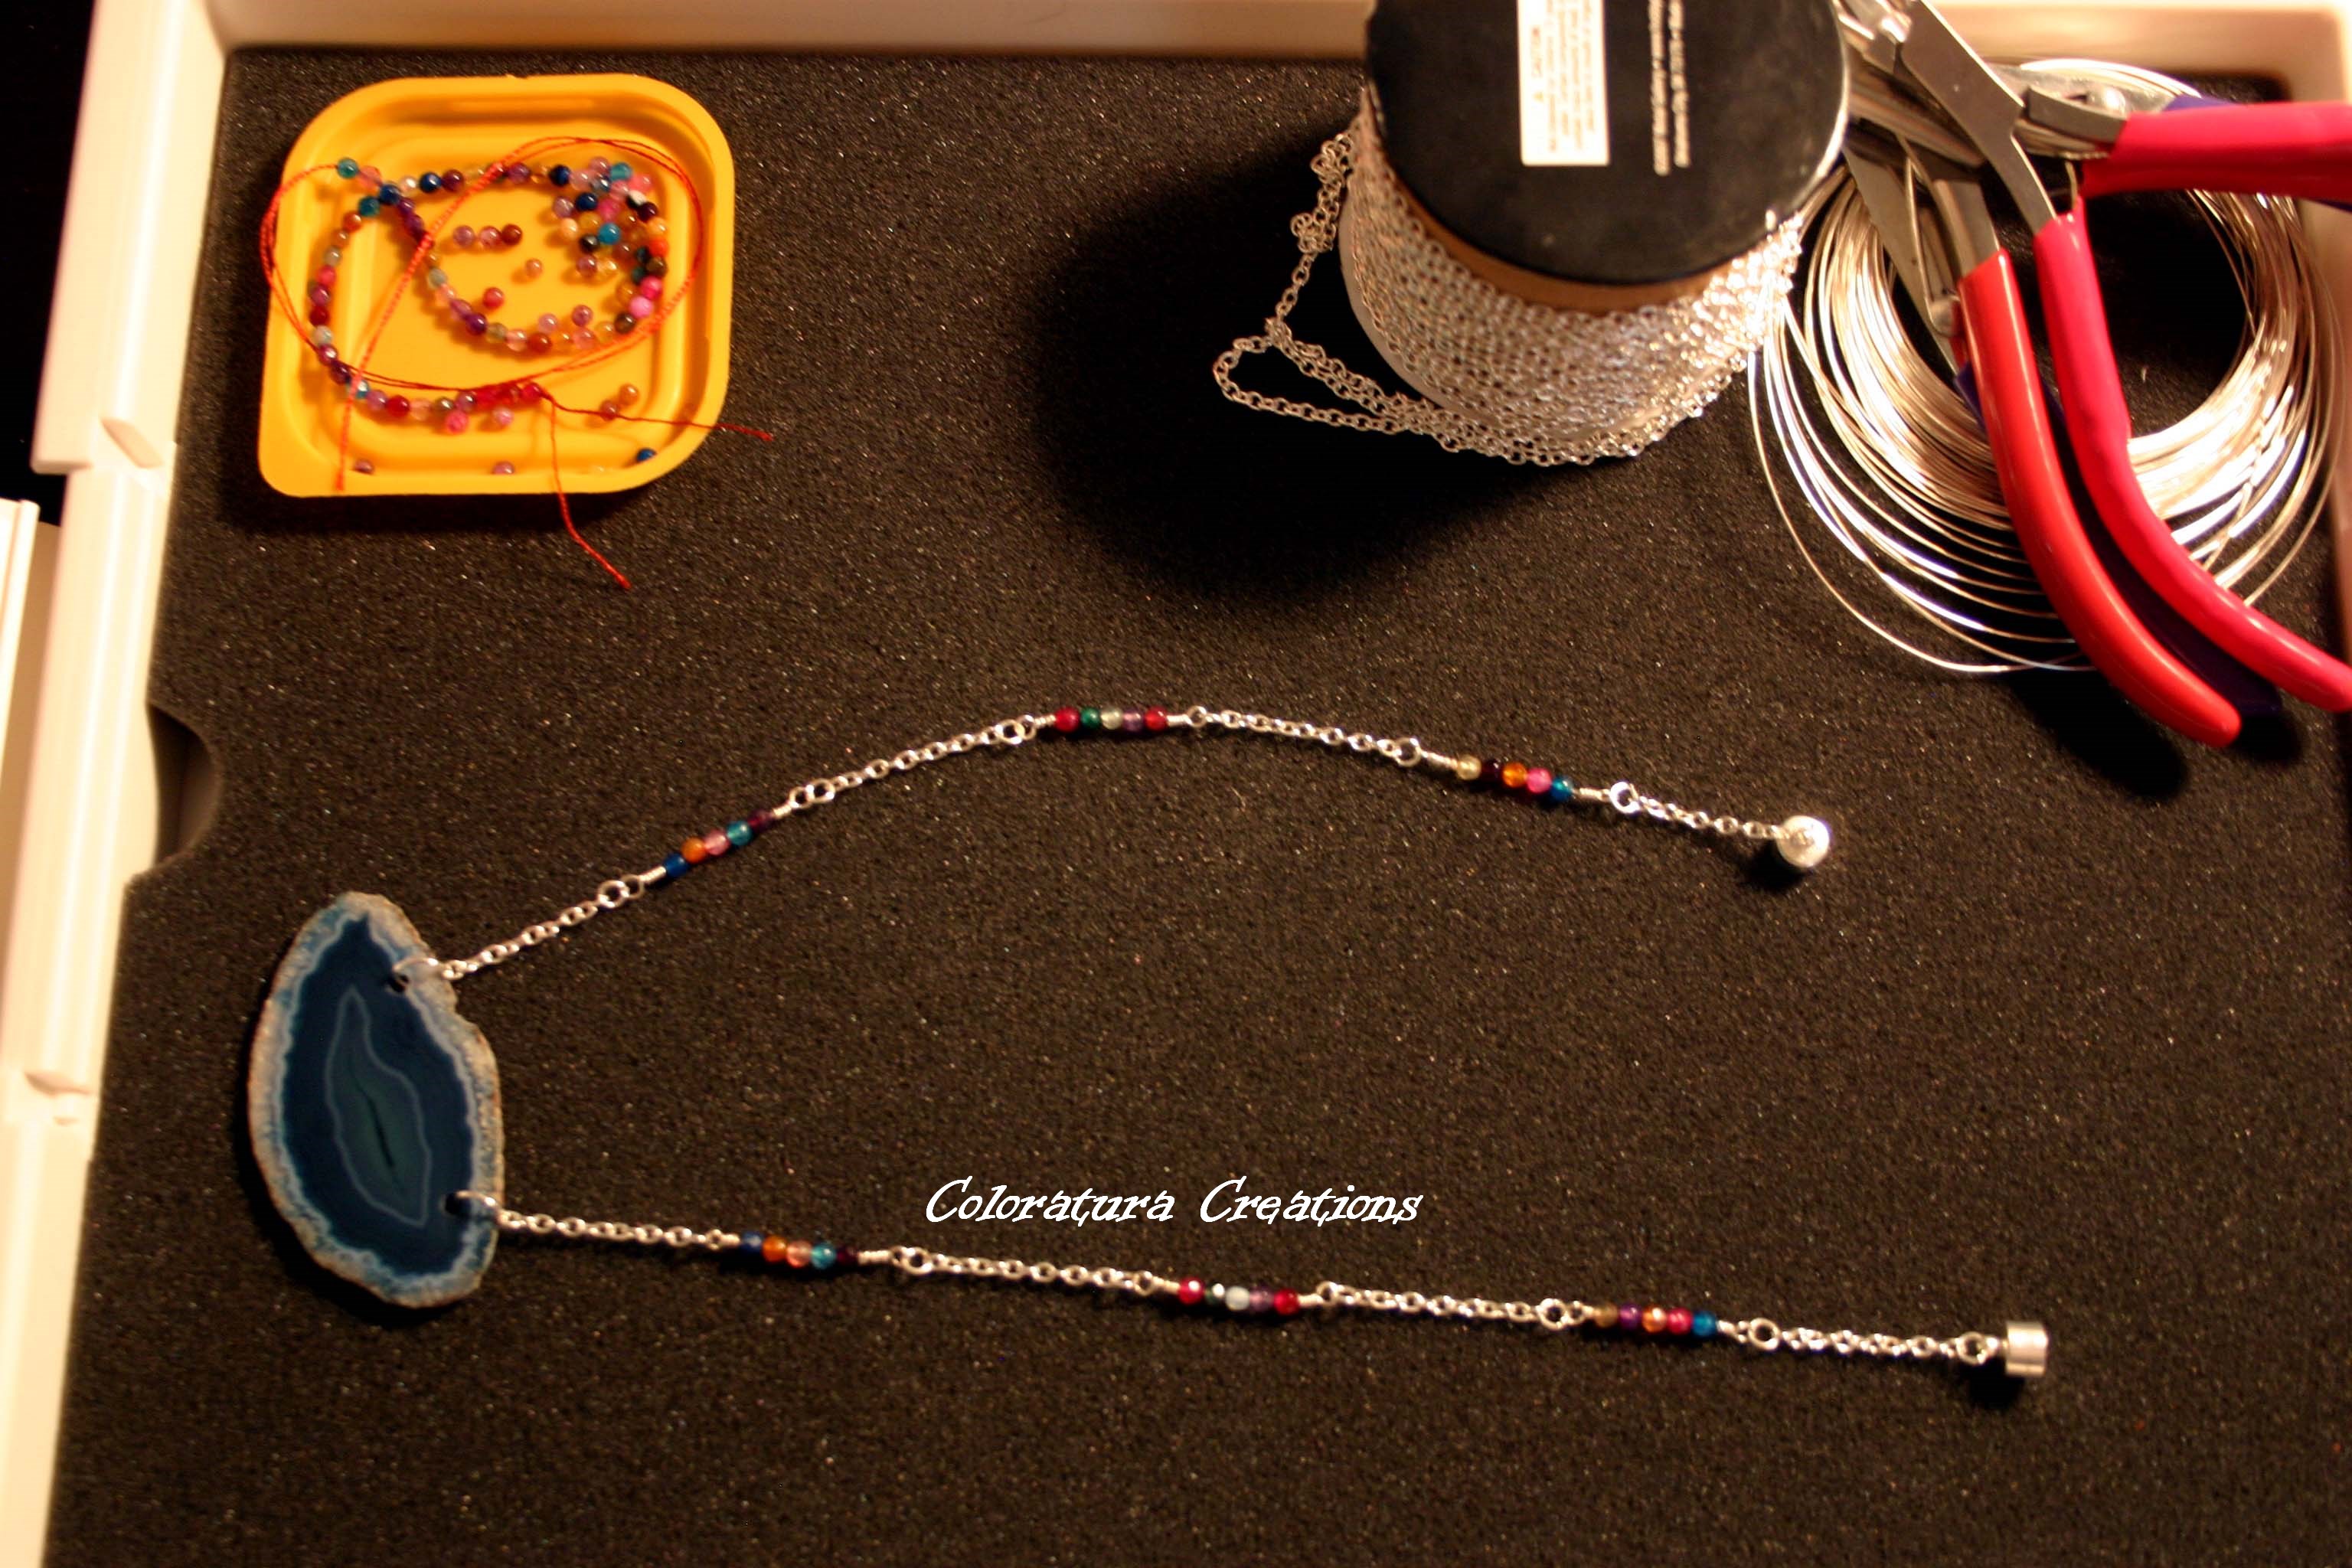
1. Select a pendant you’d like to feature, and then choose matching beads. For this project, I chose a blue agate focal and small round agate beads for accents. You don’t need to use all the same beads, I’ll show you an example of using a variety of beads as well.

2. Cut chain into small sections, I chose sections of 12 links each. The number of wire sections you’ll need depends on how many beads you chose to use, so you can cut the chain as you go. Use 2 large jump rings to attach the pendant to 2 chain sections.

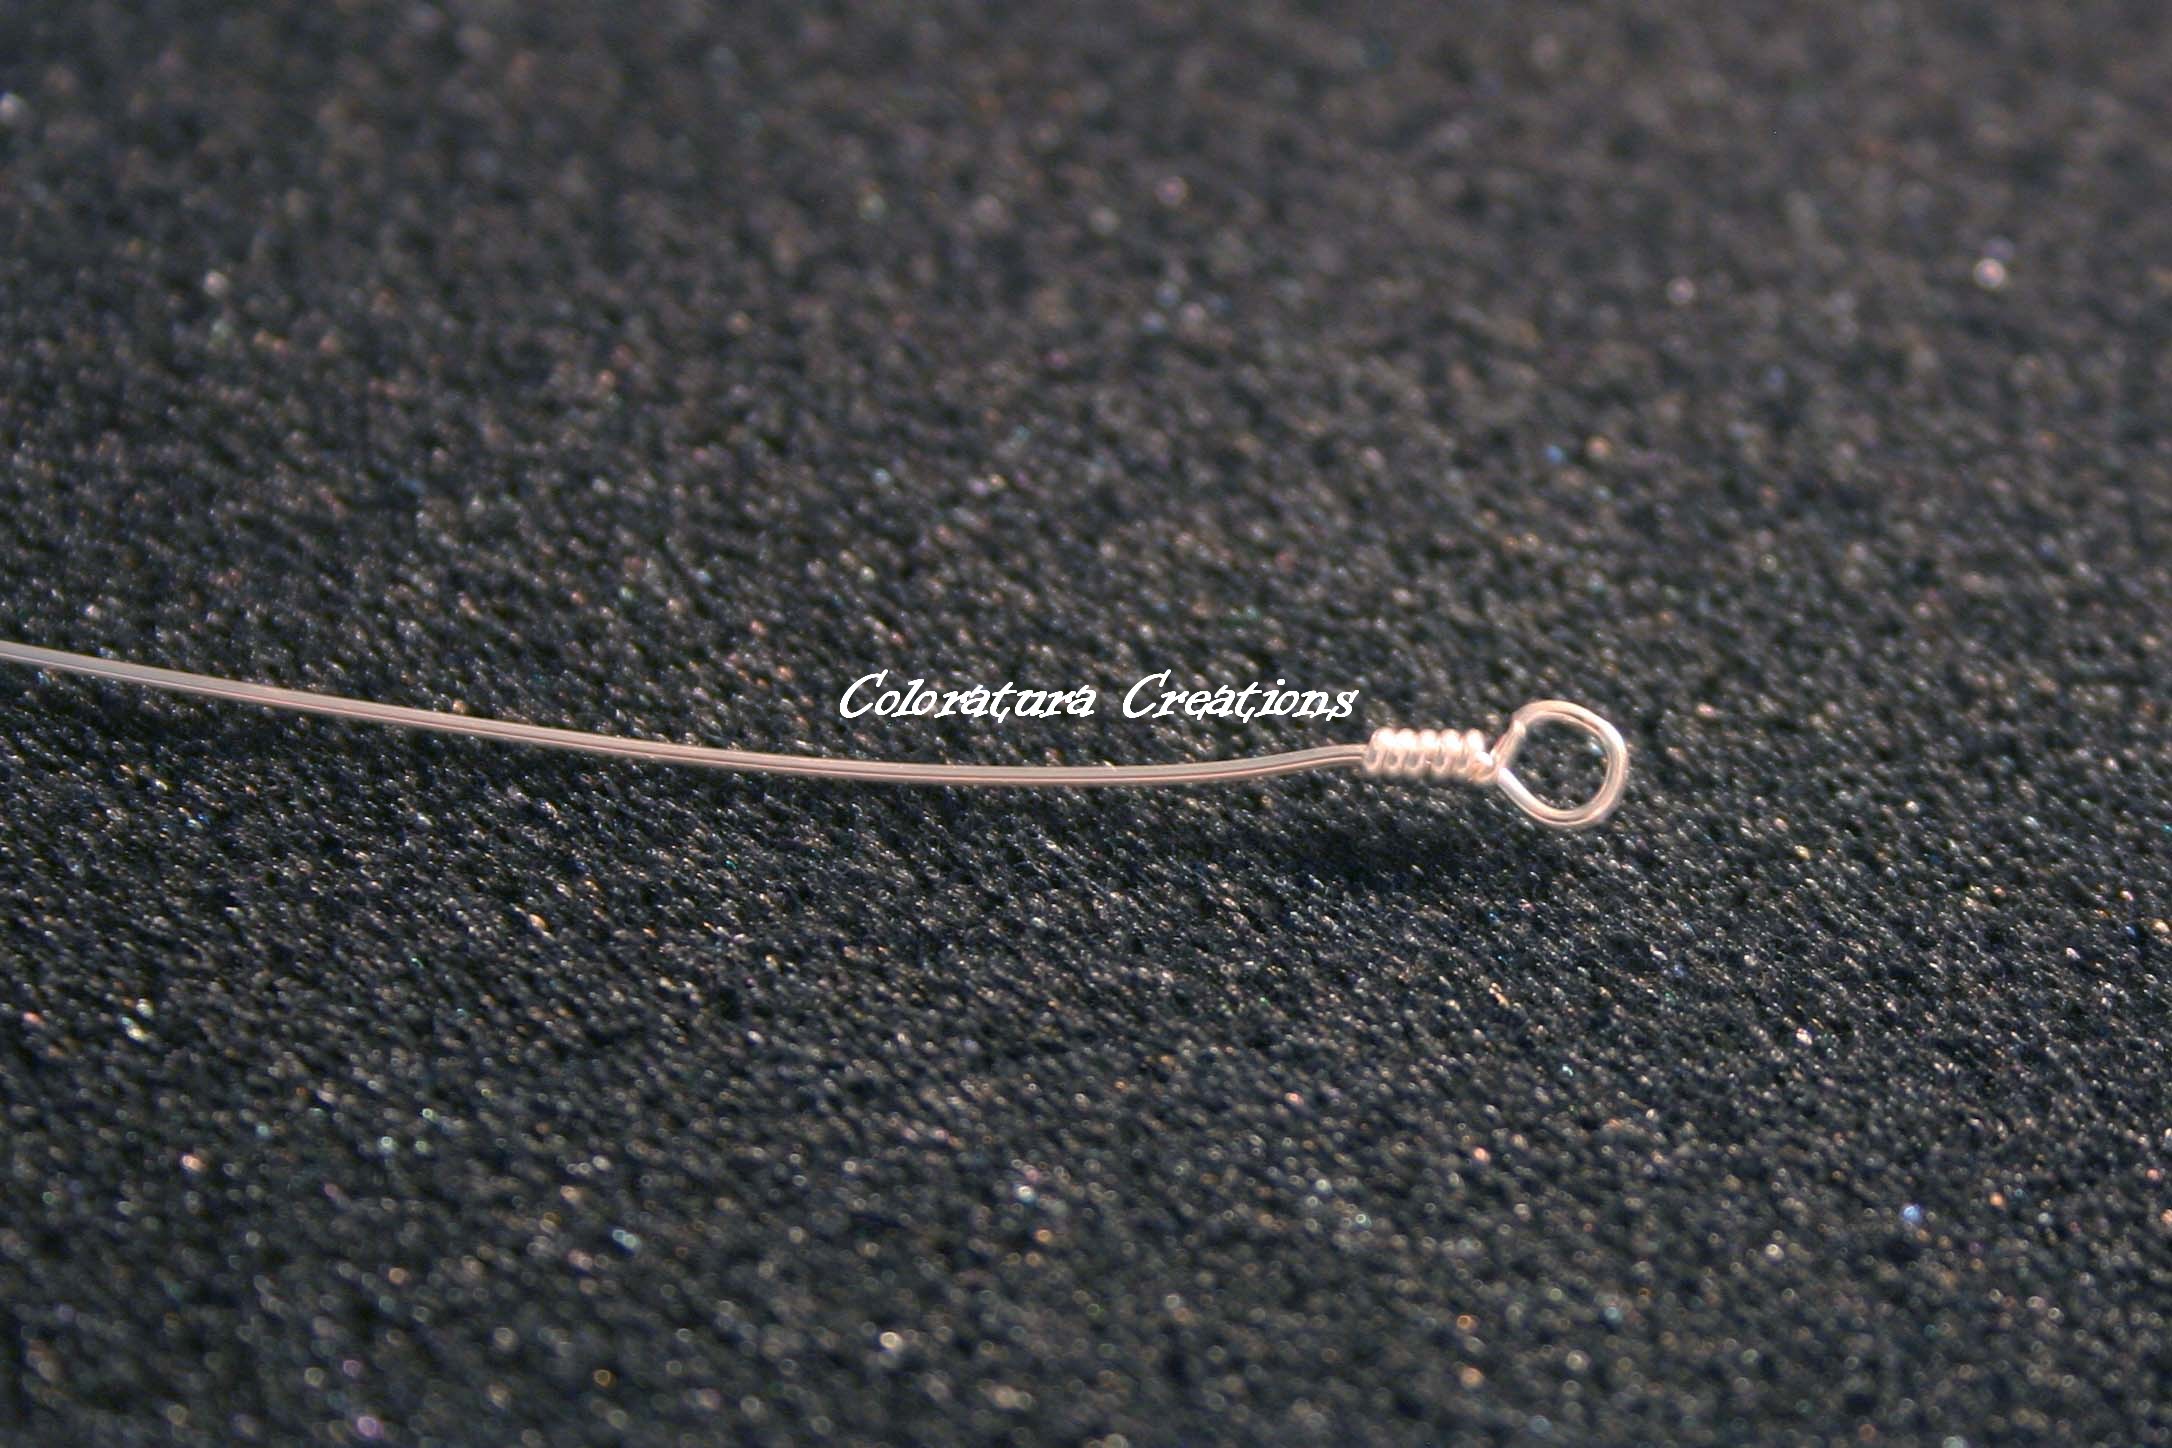
3. Now you’re ready to make your first beaded bar. Cut a few inches of wire, and make a wrapped loop on one end. I like to make these bars 2 at a time so that both sides of the necklace are as even as possible.
4. String on a few of the beads you’ve selected. For this necklace I chose to string 5 bead sections. Make another wrapped loop after the beads, straighten the loops so they’re even and facing the same direction, and you’re done with the first section.

5. Use the small jump rings to attach one end of the bar to the end of the chain suspending the pendant (if you prefer, you can wire-wrap the loops directly onto the chain). Repeat on the other side with the second bar. Then use 2 more small jump rings to attach sections of chain to the other side of the wrapped bead components.

6. Repeat the process of adding wrapped bars, and chain sections until the necklace reaches the length you prefer. I used 3 beaded bars on each side to create this necklace.

7. Using 2 more small jump rings, attach the clasp to the end of the chain. I used a magnetic clasp. You’re done! Now dig through your stash and make another!


There are so many ways to create using this method, here’s another take on the same idea:
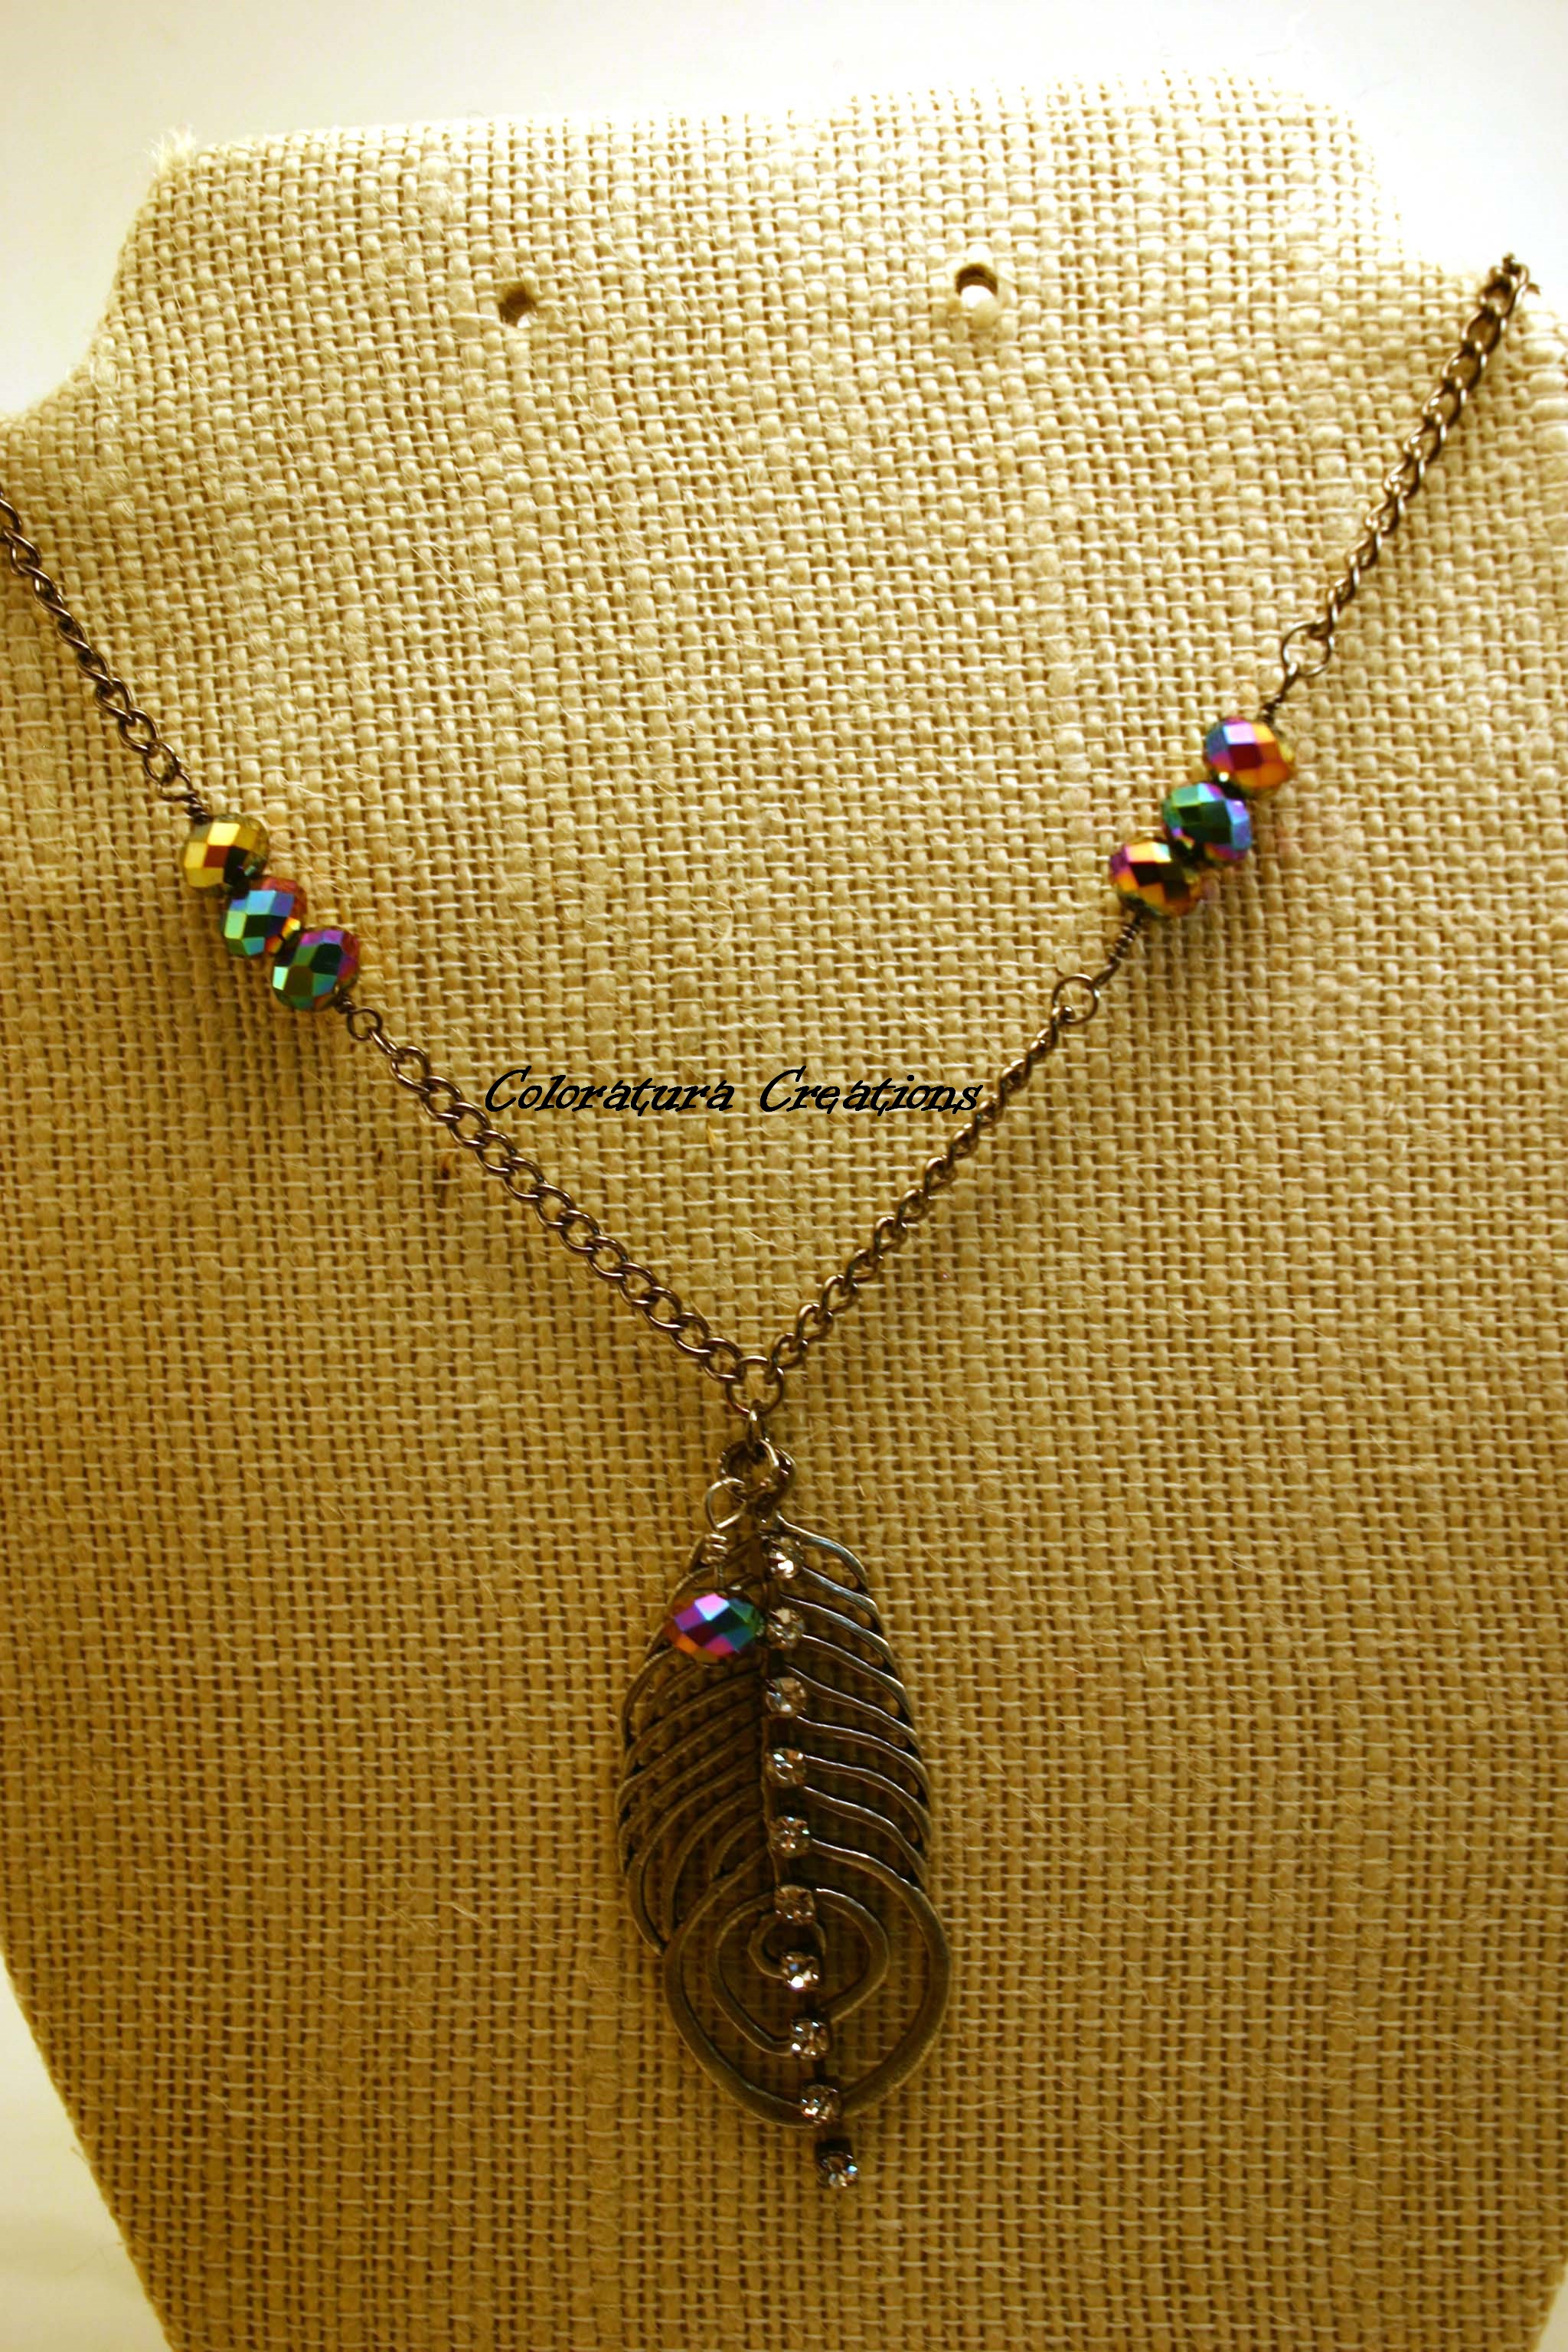
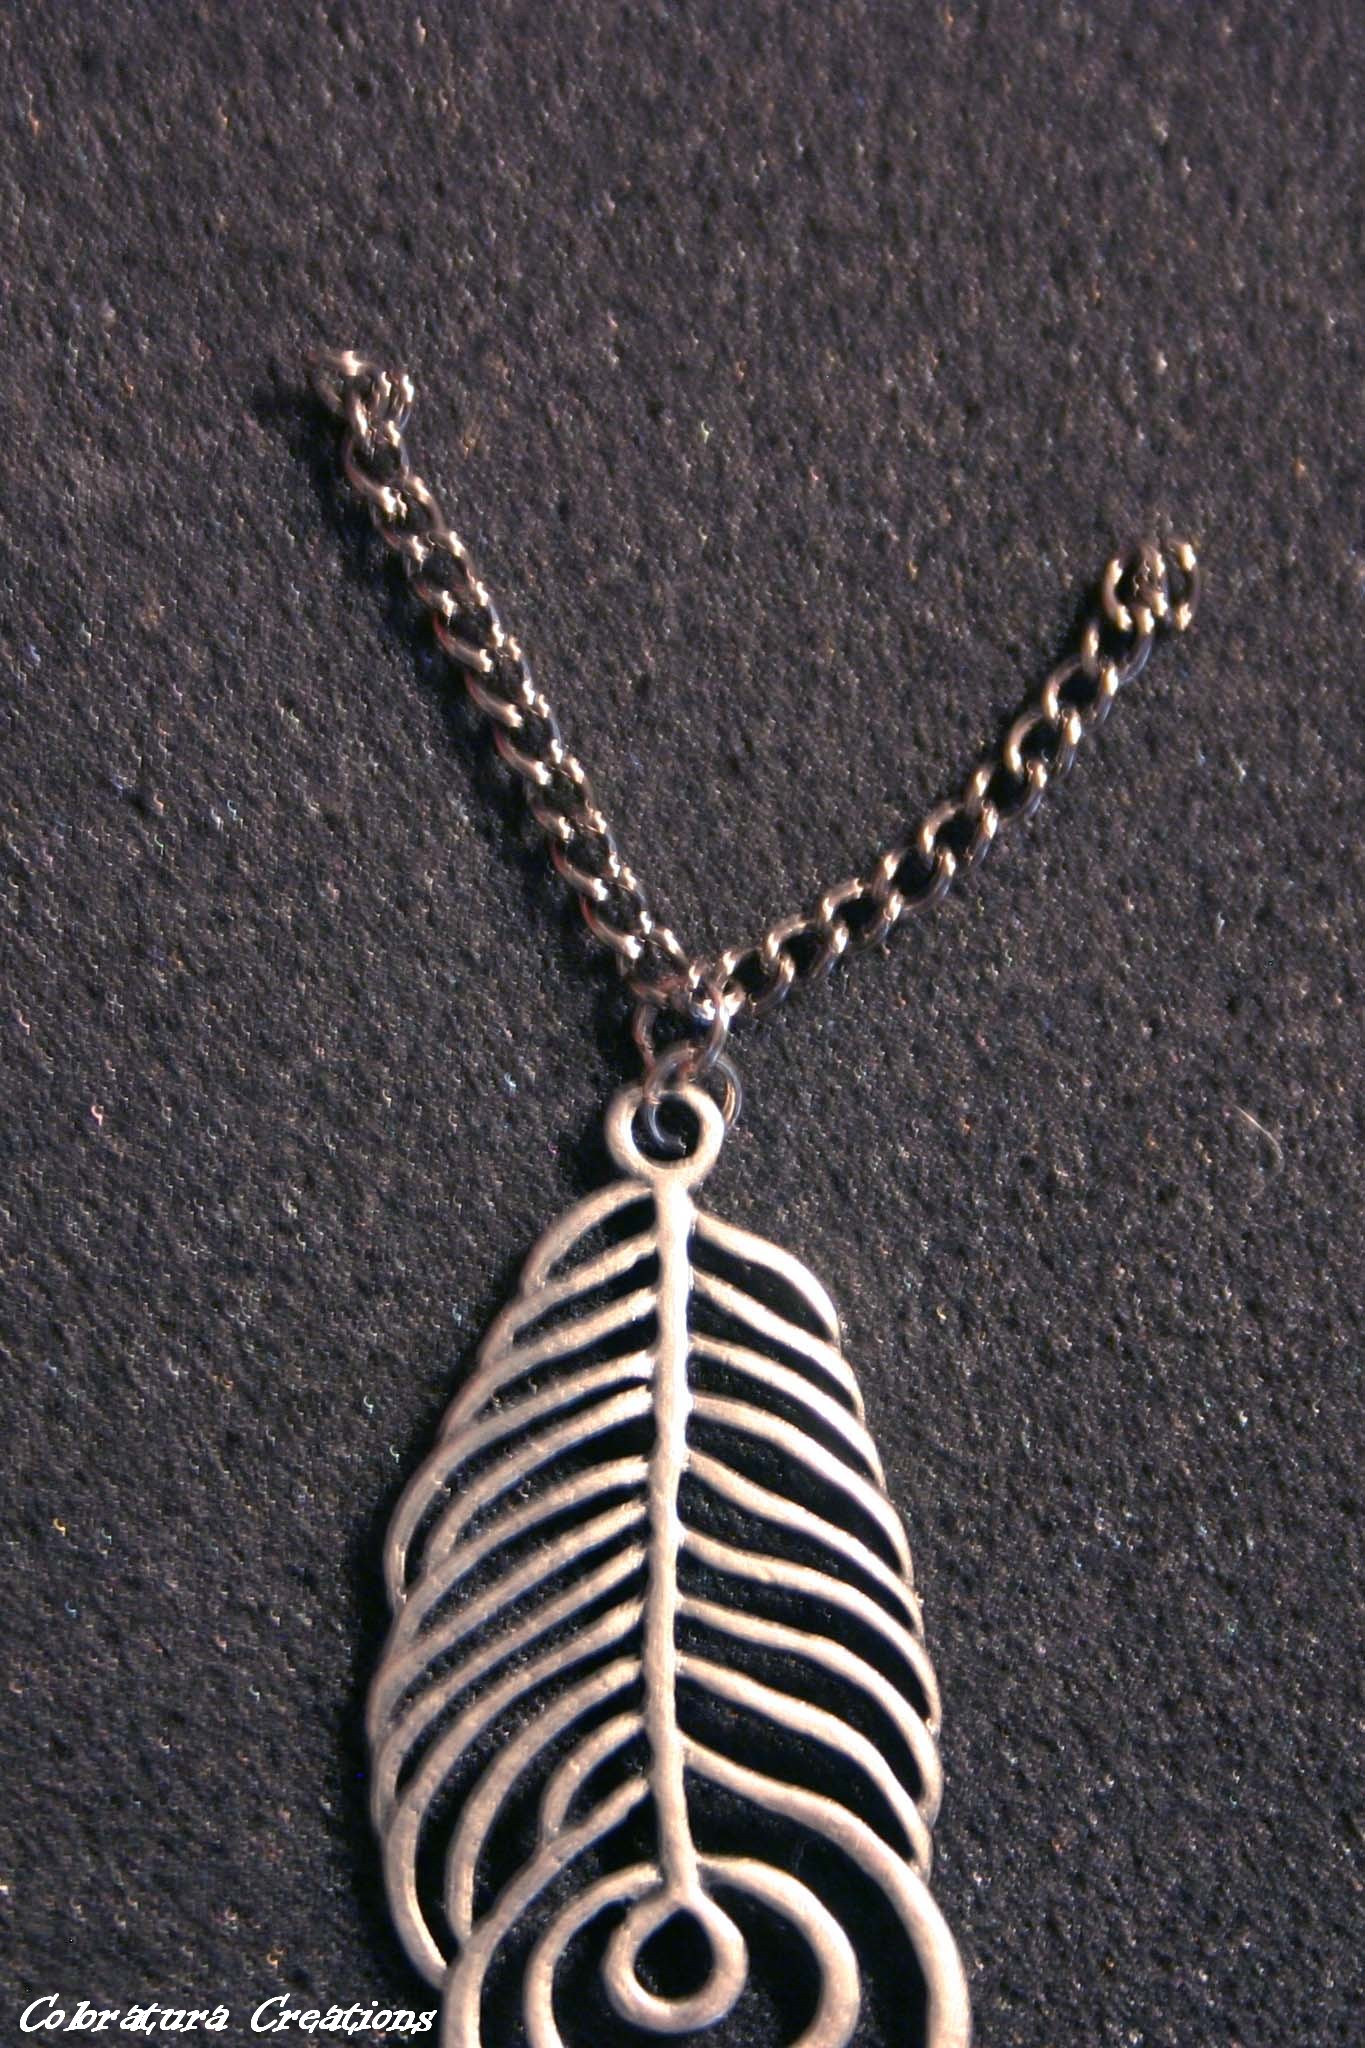
This time I chose a gunmetal colored peacock feather charm, using the same method I attached the feather to 2 small lengths of chain using a large jump ring.
This time I chose a variety of assorted beads to make the wrapped components. I used the feather as my inspiration and chose beads in peacock themed colors: purples and teals.

This necklace is much longer in length than the last necklace, so no clasp is needed. I finished the necklace with a long length of chain which allows the necklace to be slipped on.

I thought the pendant looked a little plain, so I accented it with a length of crystal cup chain, and a wire wrapped crystal dangle (both attached to the large jump ring that attached the pendant to the chain).


I hope you enjoy creating these fun necklaces, please share your creations with me!

Leave a comment